Poly Studio Series Explained: Studio X vs Studio R vs Studio E

When building and deploying meeting rooms, we often turn to Poly as one of our trusted partners. Formerly known as Polycom, they’ve been producing collaboration solutions since 1990, including a rather impressive lineup of video bars, cameras, and microphones. Their naming convention, however, leaves a lot to be desired. So, here is our breakdown of the Poly Studio lineup of video conferencing devices (and how we use them).
Studio vs Studio X?
One of the easiest ways to tell the Poly video bars apart is by the single letter in the model number: either P, E, R, or X. The bars with X in the model number, like the Studio X30, are part of Poly’s all-in-one video bar line. Along with a camera and microphone, these devices have a built-in compute module that is used instead of a computer to join meetings. On the Poly devices, these modules run a custom operating system that is certified for use with Zoom, Microsoft Teams and Google Meet, making it a near-universal solution.
The products with P, E, or R in the model number are purely USB peripherals. Although they feature the same auto framing, speaker tracking and noise cancellation as their Studio X counterparts, these devices require a computer or other meeting device to be used for video conferencing.
Studio X30 vs Studio R30
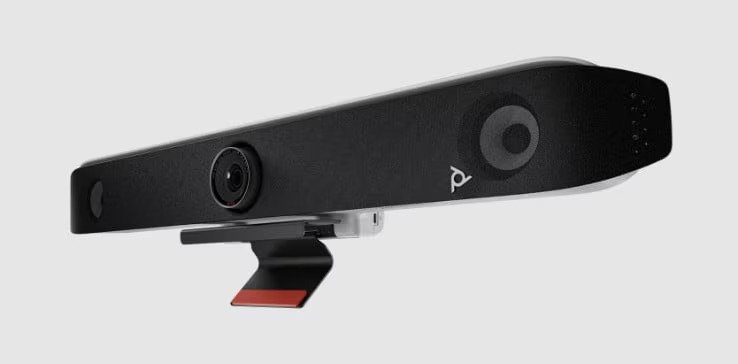
Let’s take, for instance, the Studio X30 and Studio R30. Both feature a 4K camera with a 120 degree field of view, as well as Poly’s DirectorAI for automatic framing and speaker tracking. However, the X30 also features built in cloud video apps, as well as remote deployment through the Poly Lens platform. Although both devices will provide the same fantastic audio and video quality, the X30 provides a more seamless video conference experience by enabling joining meetings with just one touch.
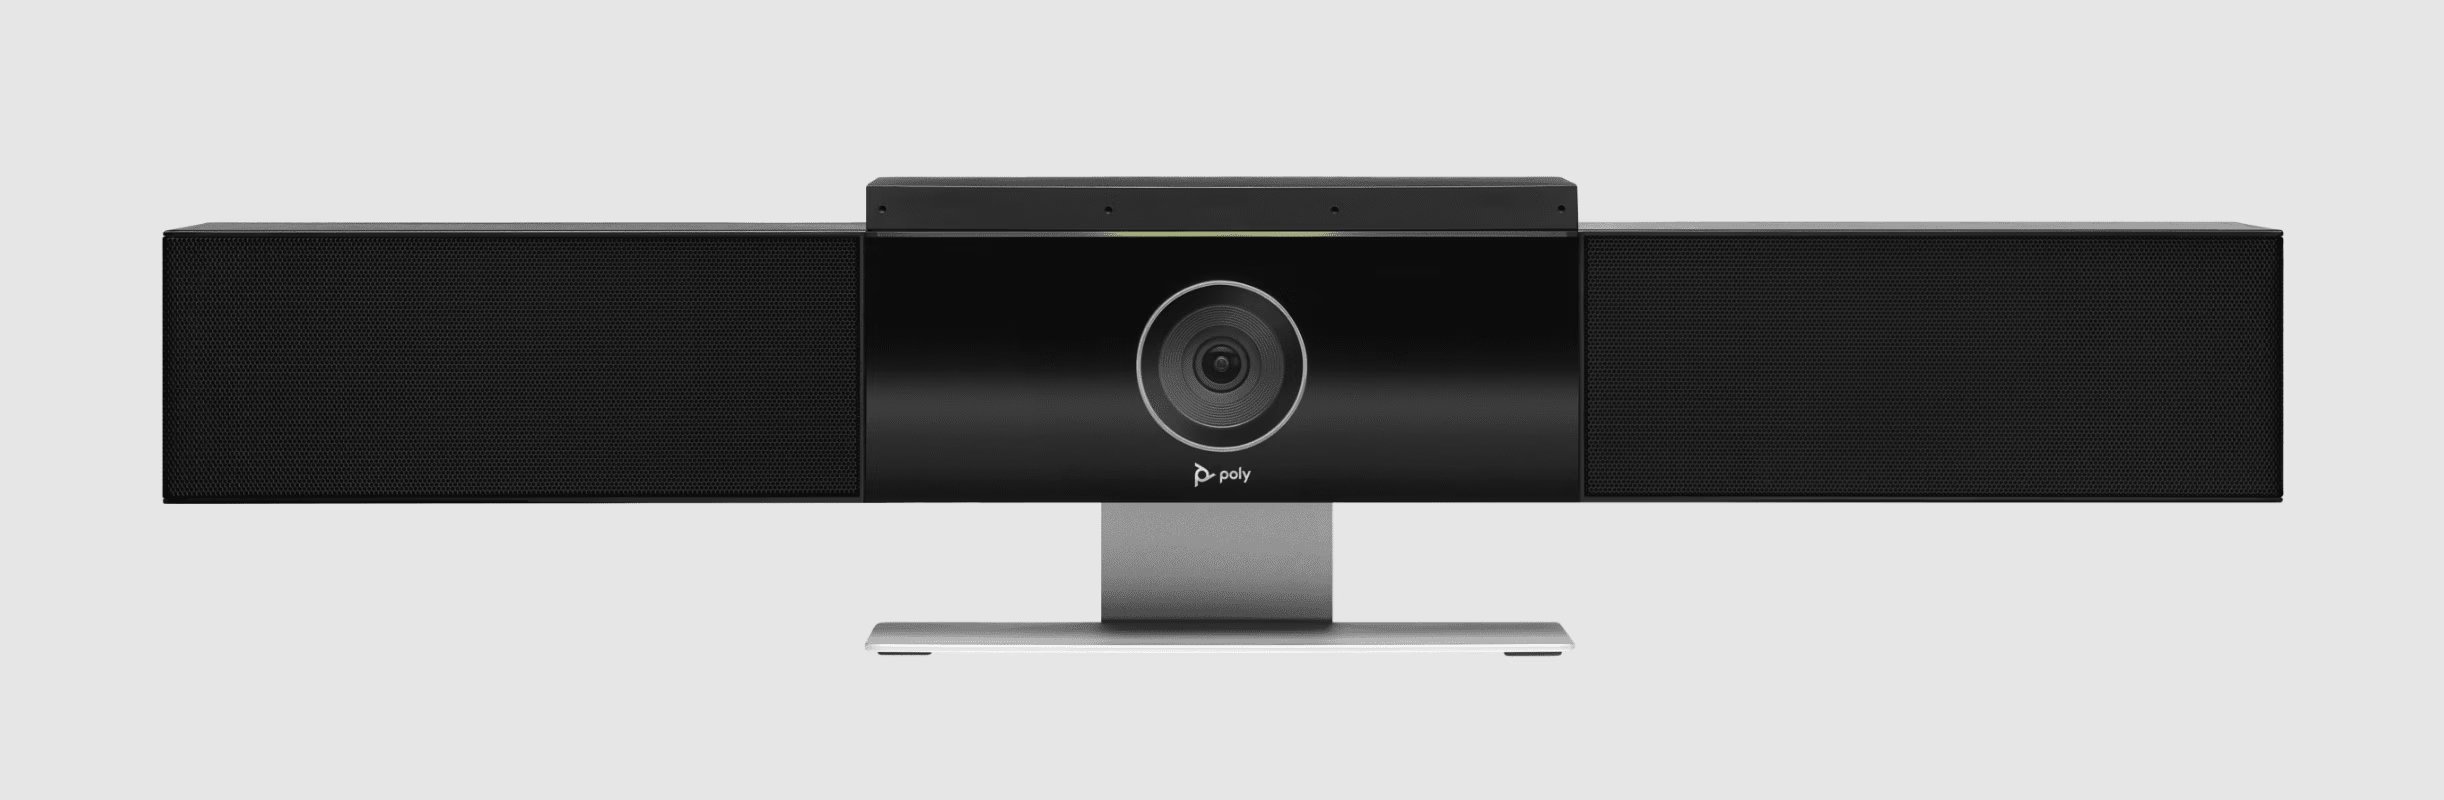
Moving up to peripherals for medium sized rooms brings up to the Poly Studio and the Poly Studio X50. In this poroduct category, the all-in-one solution and USB peripheral diverge a lot more than the X30 and R30. Again, both the Studio and the X50 have the same auto-framing and noise blocking technology—however, the Studio has a shorter audio pickup range, and wider camera field of view. This makes it more suitable for small to medium sized rooms, between 6 to 10 people.
For large boardrooms, seating 12 or more people, Poly again offers similar solutions—however, there is a distinct difference between the USB and all-in-one peripherals. The Studio X70 and Studio E70 both feature a dual-camera configuration, designed to smoothly transition between speakers. The main difference between the two is the audio.
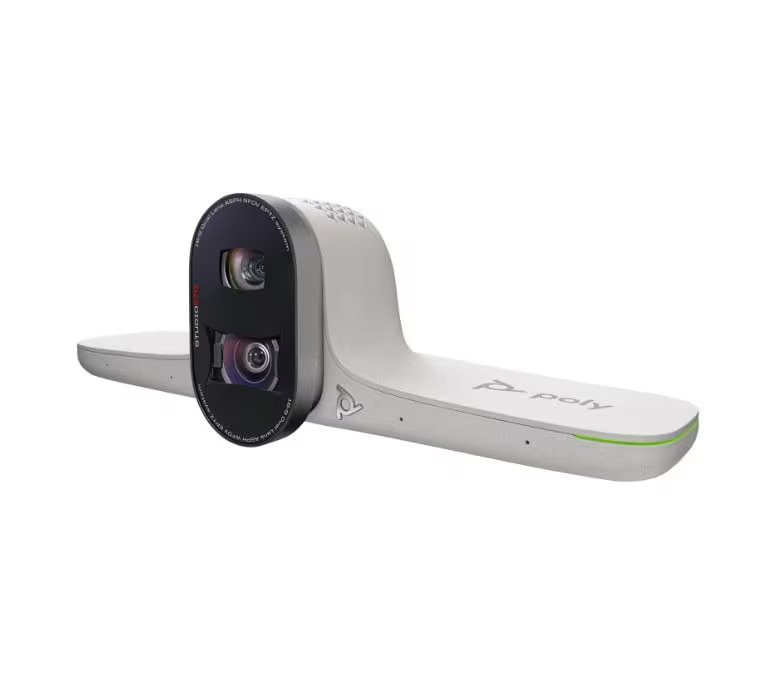
The Studio E70 has no built-in audio—neither a camera nor a microphone. In larger rooms, audio is often handled by external devices, especially in rooms that have unconventional layouts or acoustic challenges. Having audio handled by separate devices allows the camera to be placed in an ideal location for video capture, and allows for microphones and speakers to be flexibly placed throughout the room. However, these types of systems also require a more intensive design and installation process than an all-in-one system. The Studio X70, on the other hand, still provides great audio quality and is easier to install and set up, but provides less flexibility for full-room systems.
What Sets the Studio X Series Apart From Each Other
In the Studio X line, there are a few key differences between the products in the Studio X line. The X30 and X50 are both suitable for small meeting rooms, however, the X50 features a longer audio pickup range. Additionally, the X50 supports dual display output, which is great for larger rooms or utilizing features like Microsoft Teams Front Row. Step from the X50 to the X70, and you get a two camera system compared to the X50’s single camera, as well as larger speakers for better coverage in large boardrooms.
Deploying a Poly Studio X System
The nice thing about having everything on-board the video bar is that setup and deployment of a Poly Studio X system is very easy. Simply connect the HDMI, Ethernet, and power cables, and the system will guide you through the initial setup. To control the system, connect the touch panel to a Power over Ethernet (PoE) switch connected to the same network as the video bar.

A Poly Studio X50 video bar and TC8 control panel installed at MONOVA.
For IT Professionals: The initial setup requires a DHCP server in your environment, as well as access to the following services on port 443:
Zero Touch Onboarding (zto.poly.com)
Poly Lens (lens.poly.com)
Software download sites
VideoOS 3.13.1 and prior: downloads.polycom.com
VideoOS 3.14.0 and later: swupdate.lens.poly.com
Completing System Setup
To finish setting up a Studio X system, we need to manually configure the local administrator password, country, and time zone. This has to be done from the System Web Interface. To access this interface, open a web browser on a computer and enter the system IP address, the username (default is admin) and password (the default is the last six digits of the device serial number).
In Conclusion
Navigating the Poly Studio Series, with its varied models like the X30, X52, X70, and others, requires a clear understanding of your specific meeting room requirements. Whether opting for the all-in-one convenience of the X-series or the USB peripherals with P, E, or R in the model number, Poly offers a range of solutions catering to diverse needs. As the meeting rooms get bigger, the requirements grow, like the X70 needing external audio devices for large boardrooms. The Studio X Series, with X30, X50, and X70, offers different things, like better audio pickup or dual display support, fitting various meeting needs. Poly's Studio Series gives you options and features to make your video meetings work the way you want them to.
Need help setting up your hybrid conferencing space? Our team of experts can build a solution that works for you.