Ultimate Guide to Zoom Rooms
Zoom Rooms are Zoom’s shared space video conferencing solution. Using dedicated hardware for video conferencing users can invite a “room” to a meeting, instead of individual users. Zoom Room Certified Hardware is designed to be used for video calls with multiple people, providing some of the experience of an in-person meeting with the convenience of hybrid meetings, for those that can’t be in the room.

What equipment do I need for a Zoom Room?
There are 5 key components to a Zoom Room:
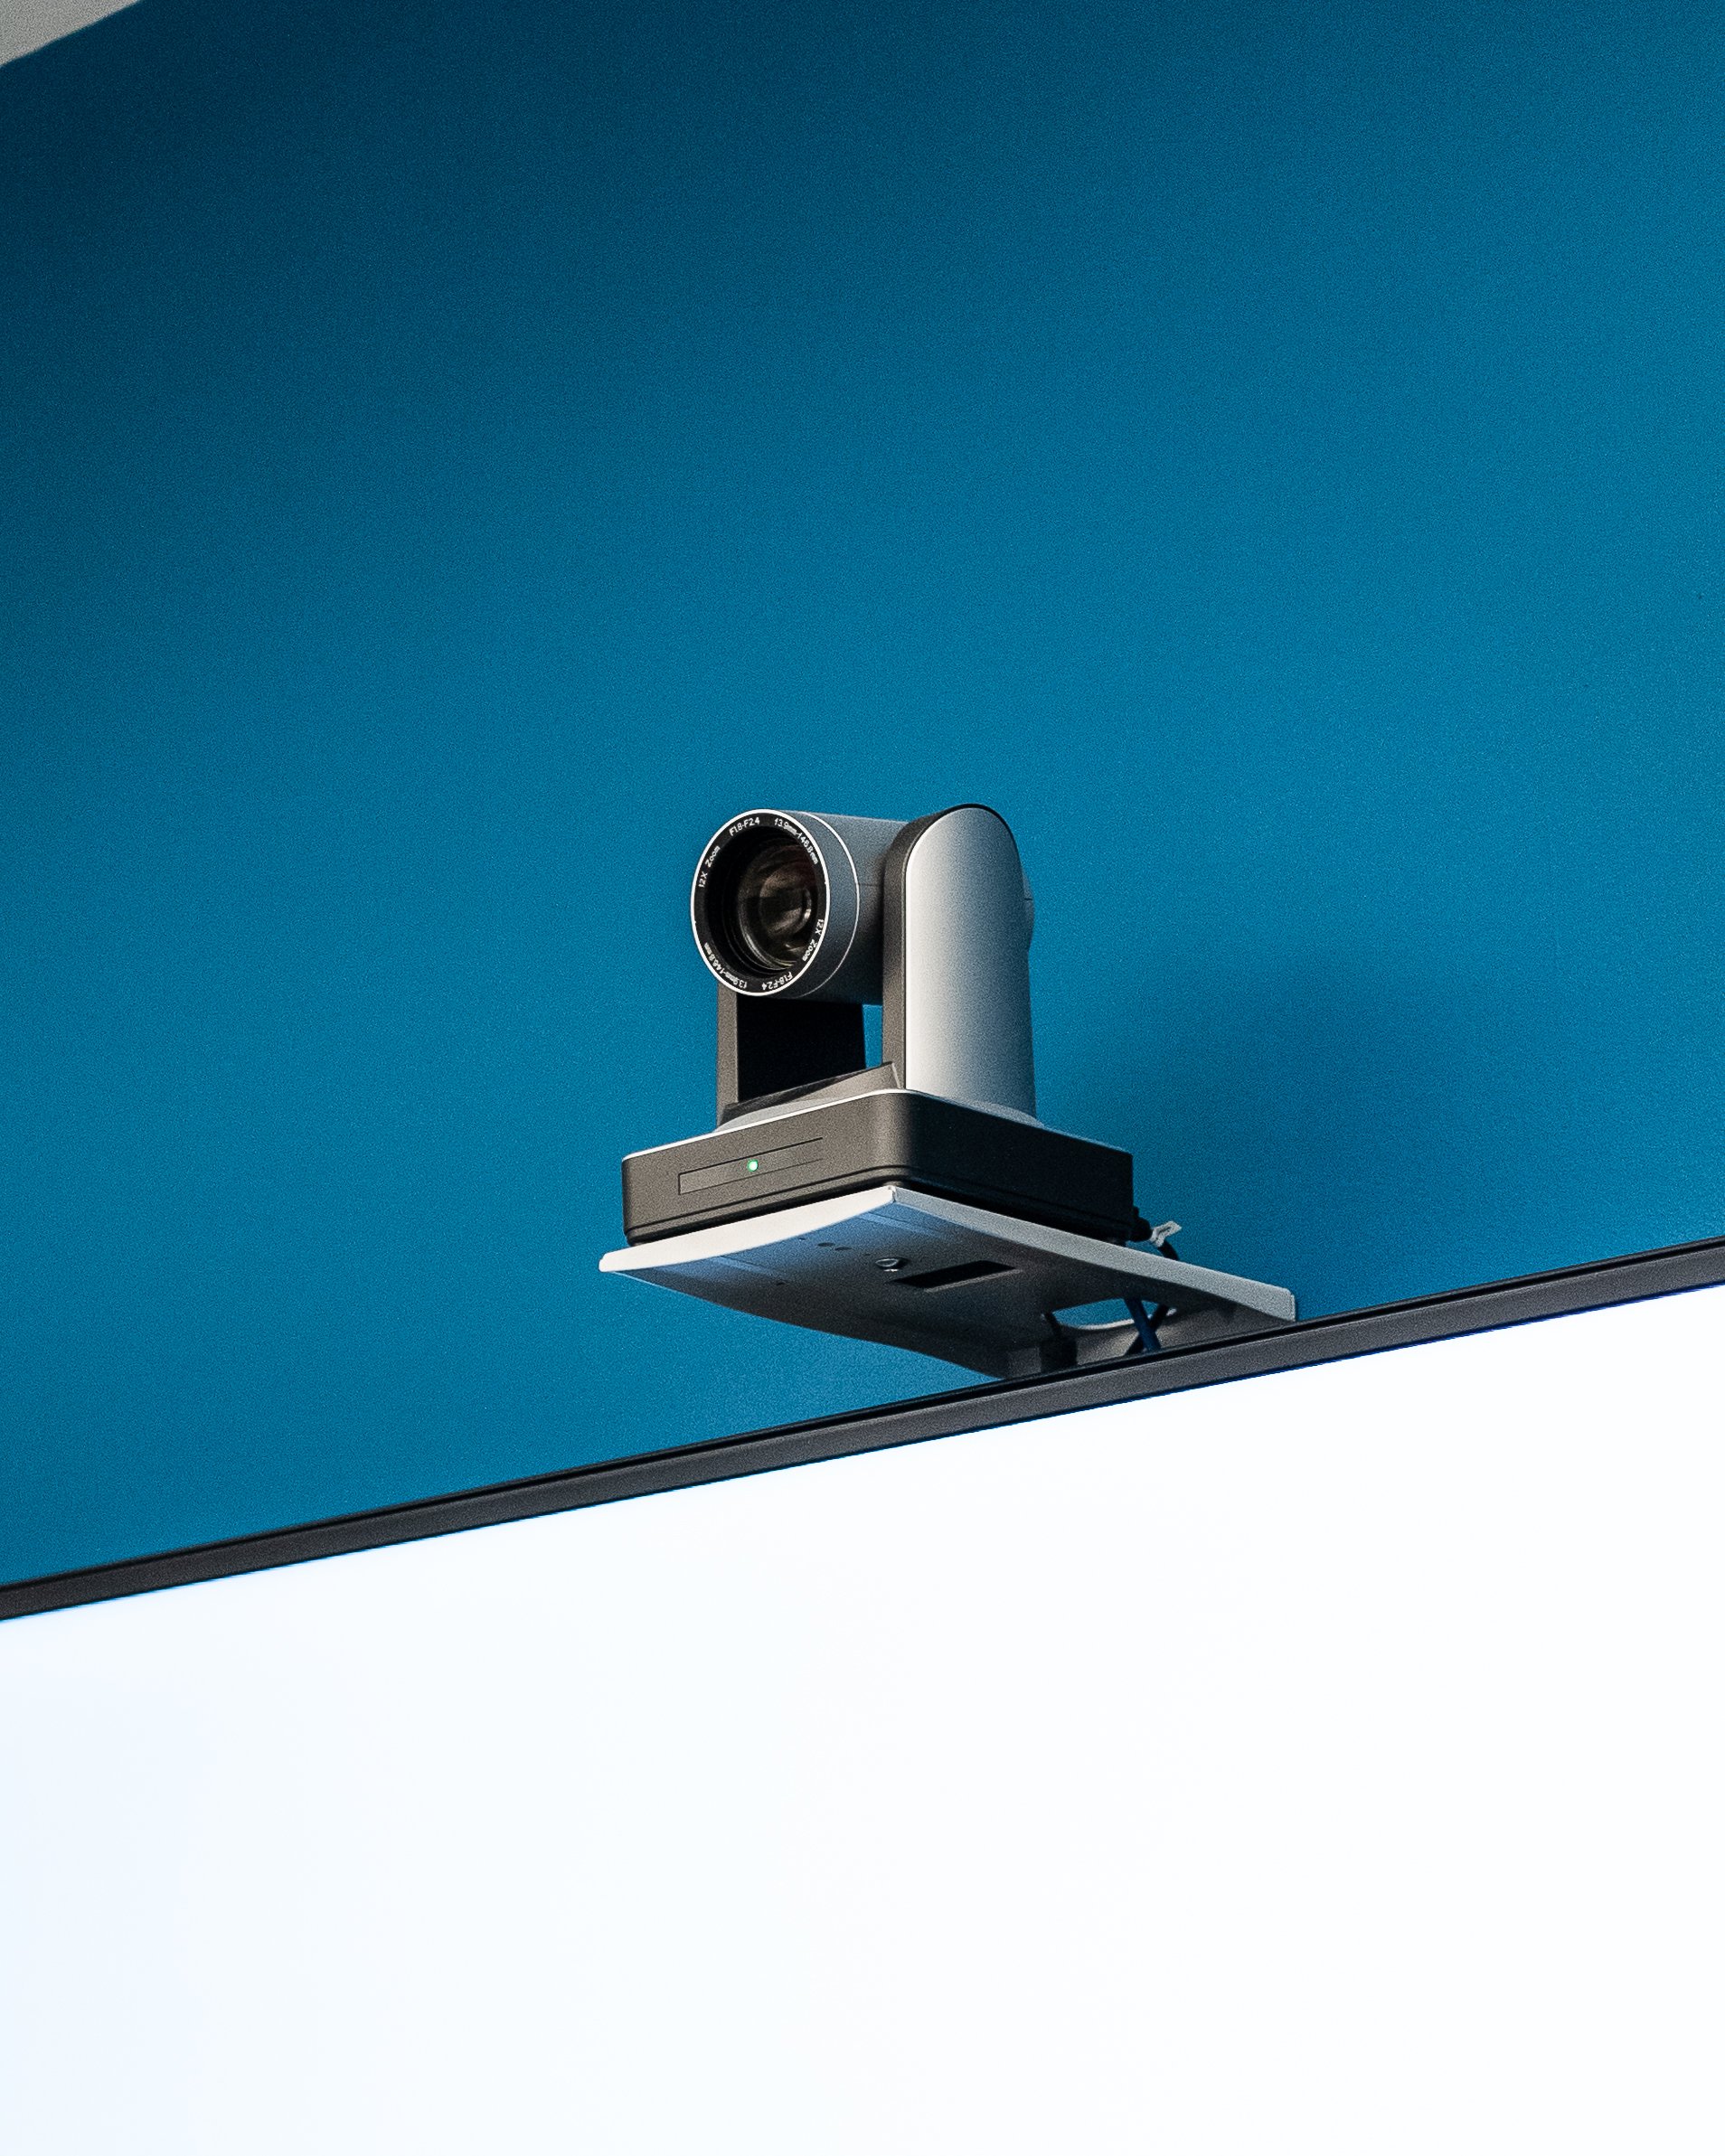
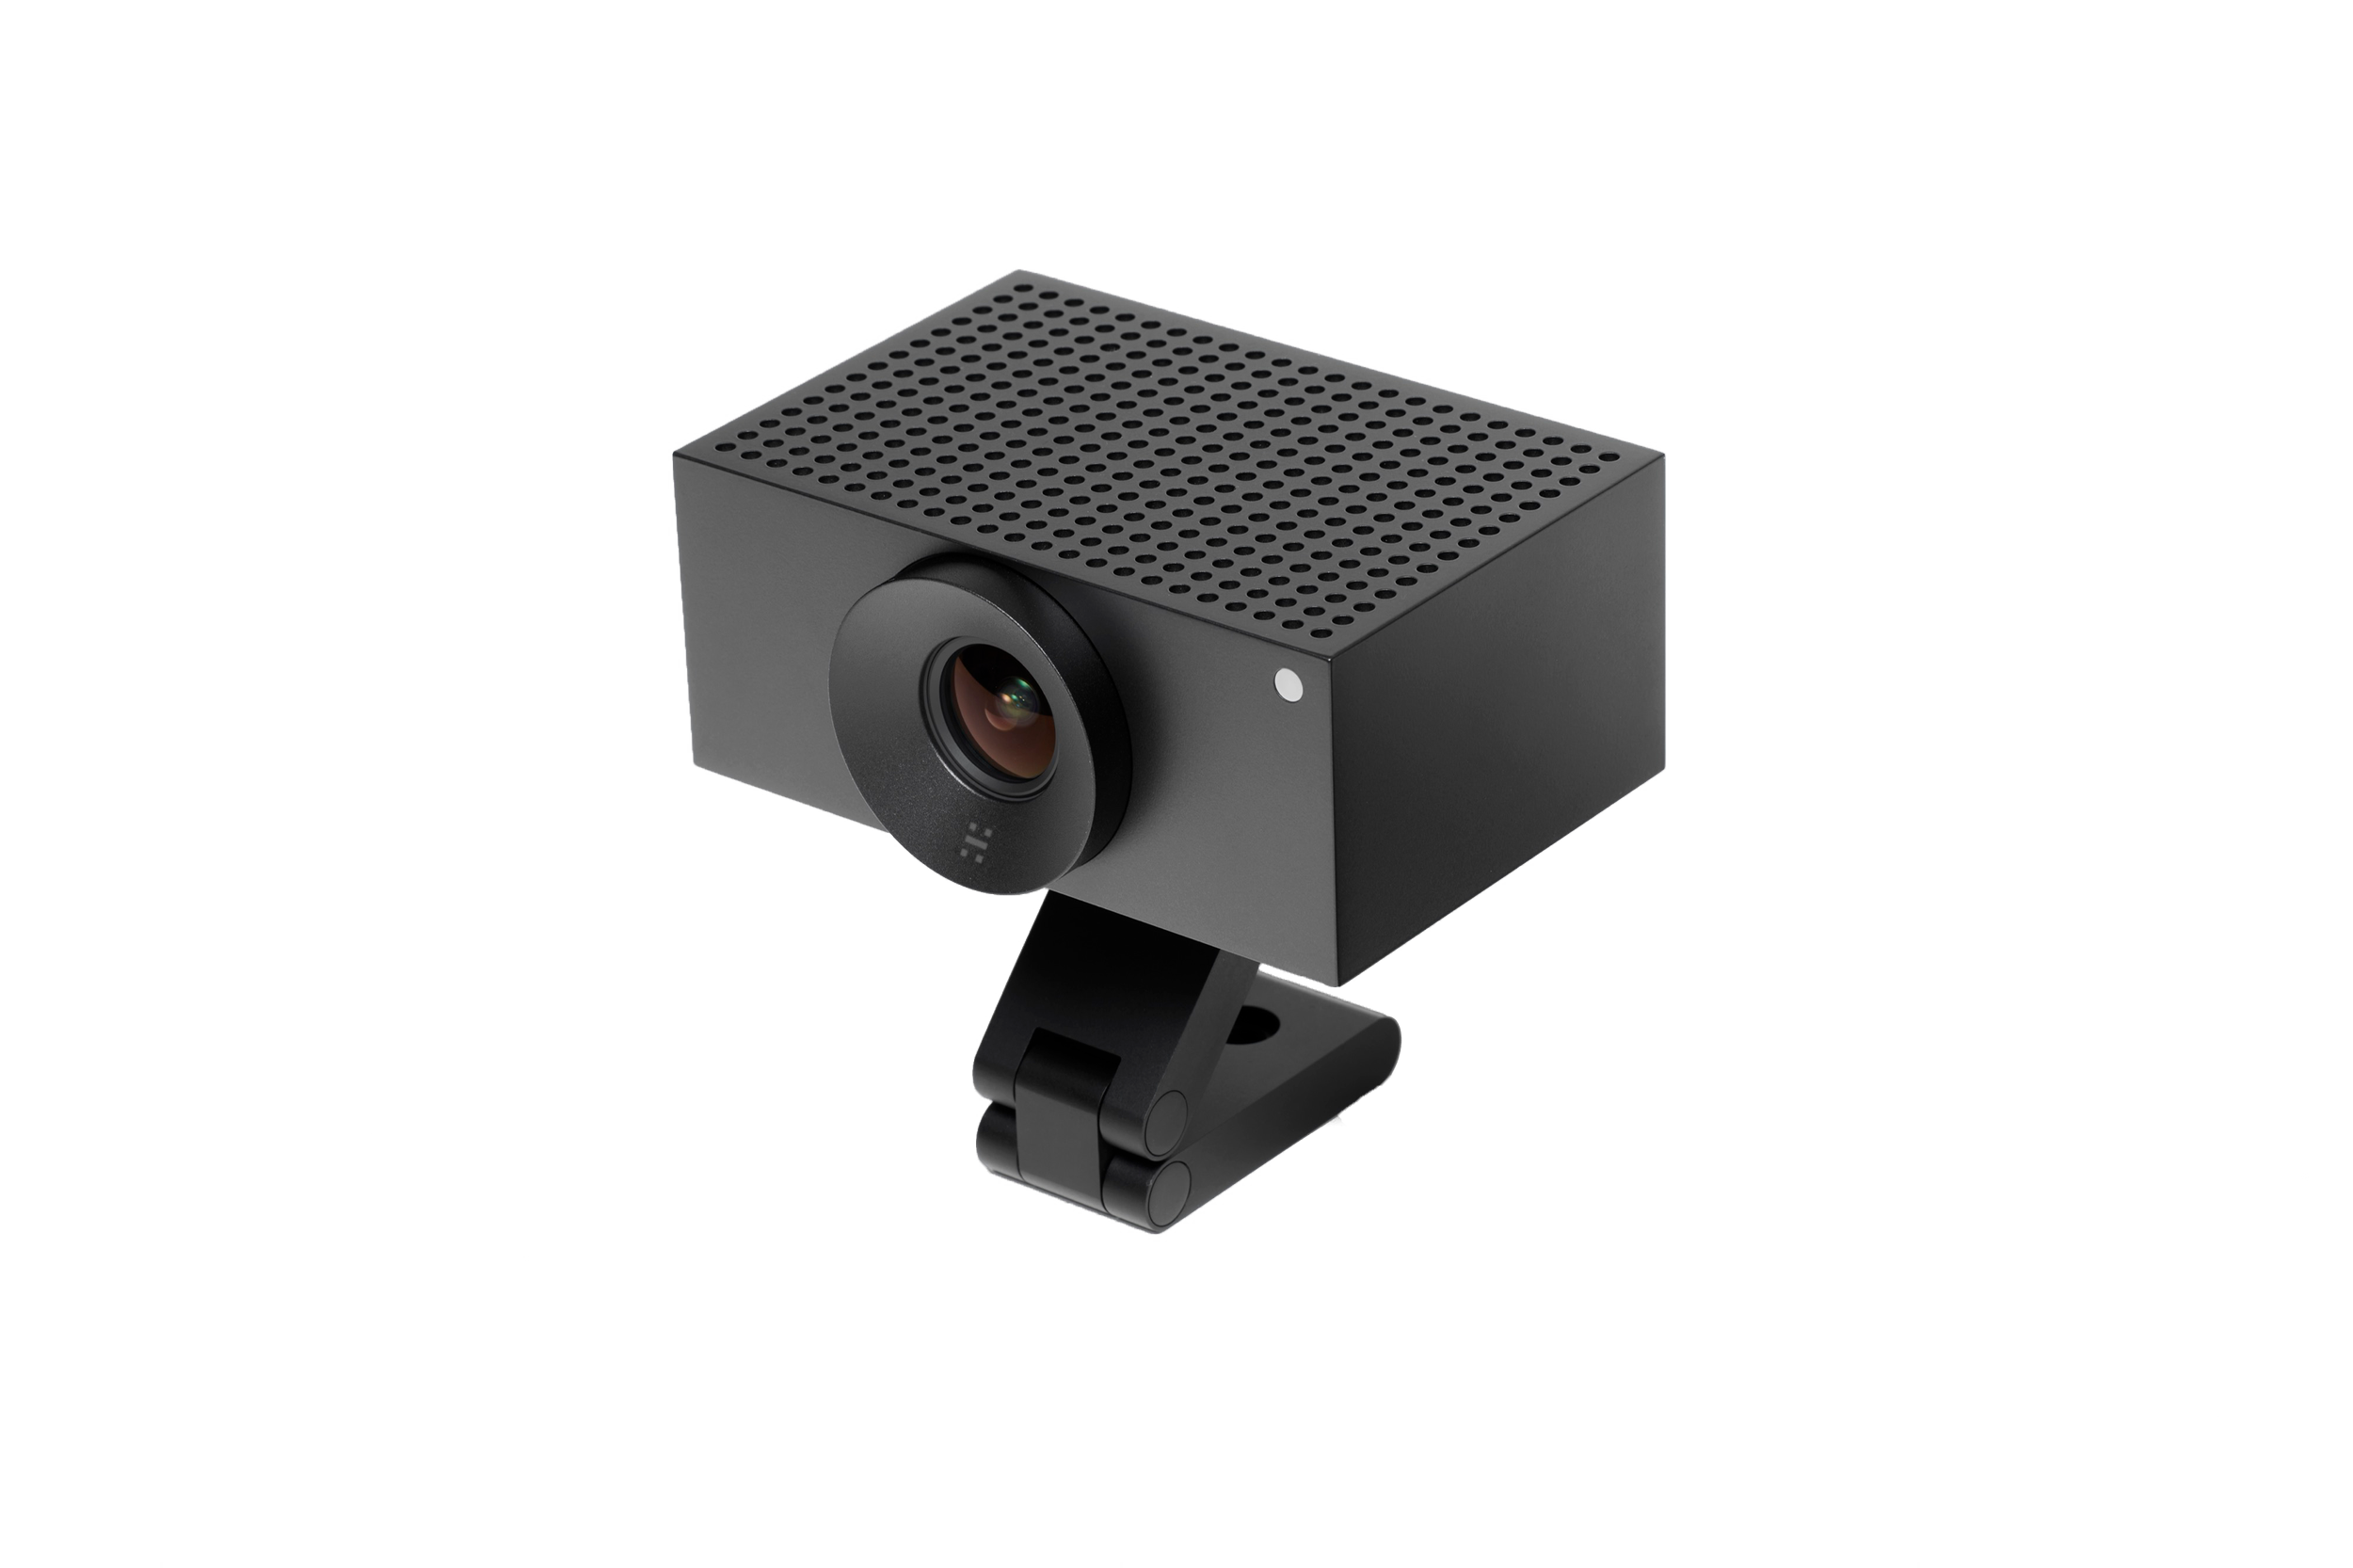
Camera(s). To be clearly visible in your meetings and calls, you’ll need a camera that can clearly frame all the seats in your boardroom or space. Zoom Rooms certified cameras also include automatic framing and/or speaker tracking features enhance the meeting experience for people on the other end.
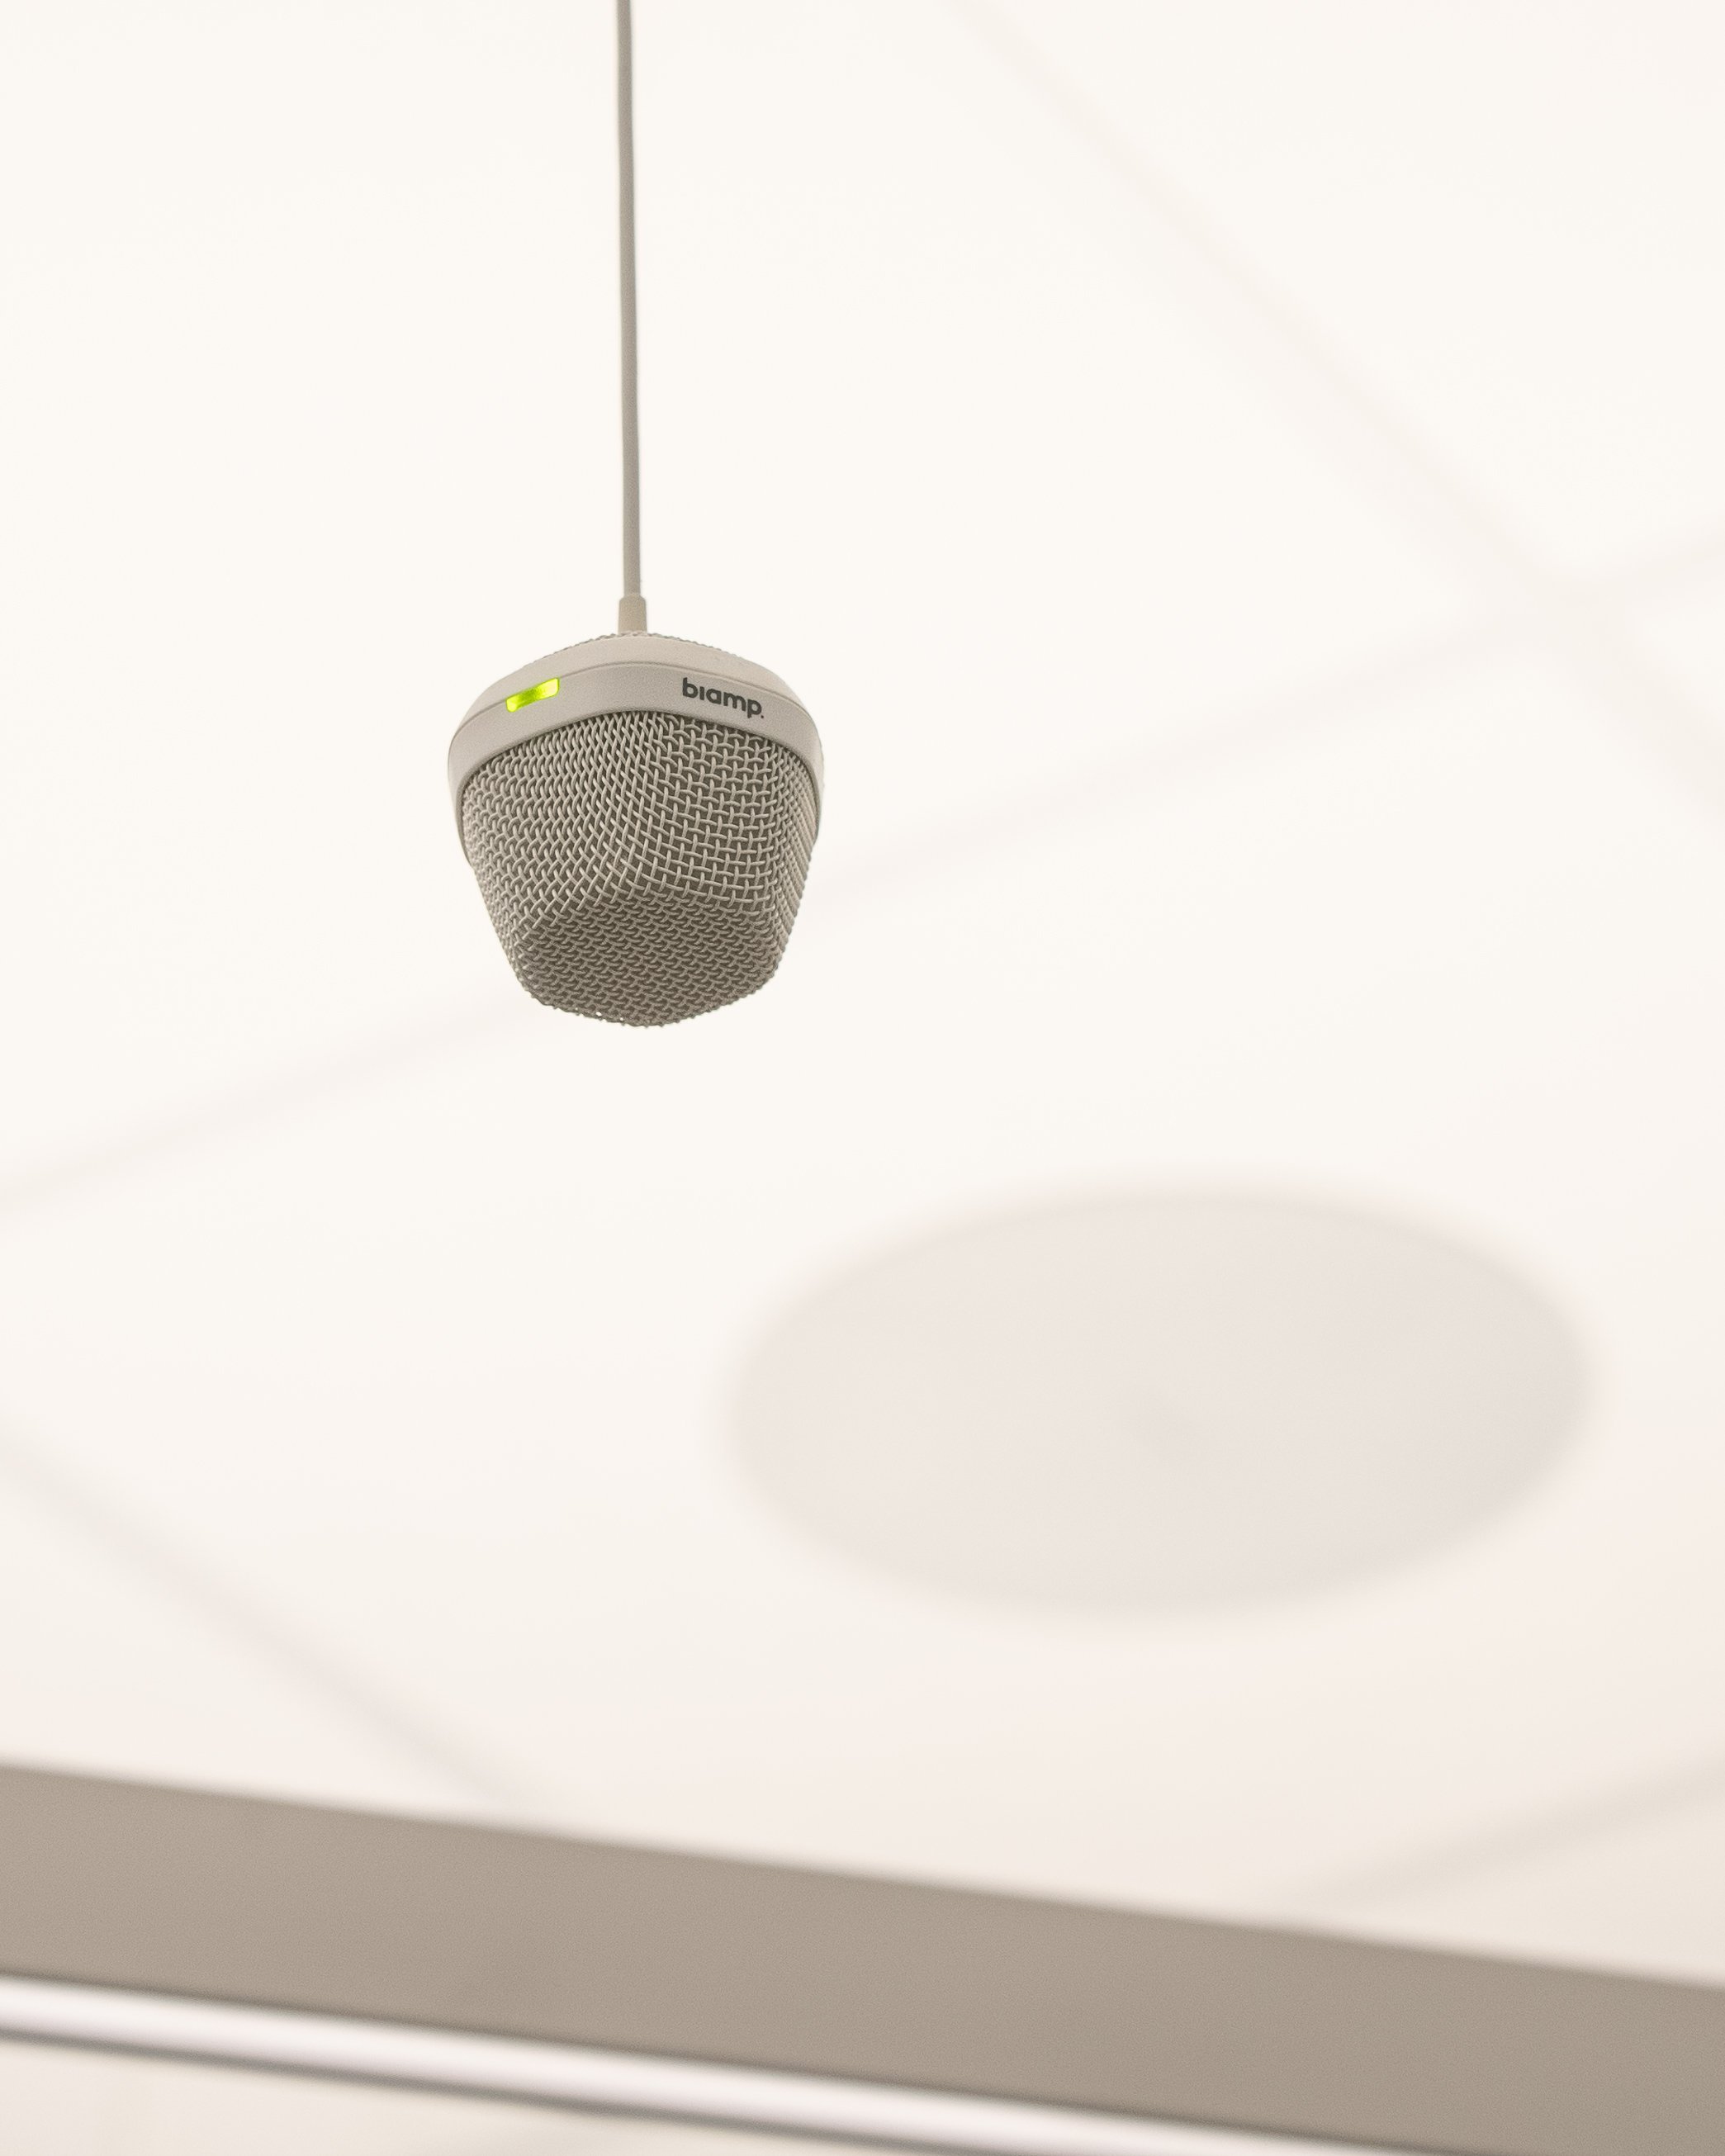
Microphones/Audio: Zoom Rooms Certified speakerphones usually include built-in noise cancellation and meeting control. For large spaces, products with microphone arrays or systems with multiple microphones may be desired
PC or Room Hub: These are what drive the meeting room, and include ports for the cameras, microphones and controllers in your room.
Control and/or Scheduling Panel: These allow you to control the function of the hardware while in meetings, like muting and camera framing. These are also used to join meetings, invite others, enable features like breakout rooms, and more! Scheduling panels can also be used as a display outside of the meeting room to show when the room is booked.
How do I set up a Zoom Room?
There are a few key components for Zoom Rooms.
You'll need:
A compatible controller or hub
External screens/displays
Peripherals (cameras, microphones, and speakers)
A Zoom Rooms Account and License
We’ve gone over the hardware already in the previous section, so lets talk licensing. Room licenses are available on either a monthly or annual payment schedule, and the standard pricing is $650 CAD pre room, per year. There are also additional add-ons available: you can add Conference Room Connector and Zoom Phone plans to your Room, allowing you to call out to phones or legacy H.323/SIP systems.
Once you’ve purchased your Zoom Rooms license and acquired your hardware, it’s time to configure the account. You’ll need administrator access to add a Zoom Room. To set up the room:
Sign in to the Zoom web portal (zoom.us/signin).
Click Room Management then Zoom Rooms.
Click + Add Room.
Select the Room Type:
Zoom Rooms (for shared spaces)
Creates the default Zoom Room configuration.Kiosk
Creates a virtual receptionist kiosk.Personal Zoom Rooms
Creates a Zoom Room linked to one user.Scheduling Display Only
Creates a room for in-person only meetings that can be reserved on the scheduling display.Digital Signage Only
Creates a room that can only share images and join meetings.Standalone Whiteboard
Creates a device for whiteboard collaboration.
Enter the Room Name.
(Optional) If you’ve already linked a calendar service, choose the calendar for this room. You can also choose the calendar at a later time.
Select a location for the room.
If you are adding multiple rooms, click Save & Add Another, then repeat steps 4-7 for each room.
Click Finish.
The list of rooms will appear on the Rooms tab of the web portal.Complete the setup steps described in Getting Started with Zoom Rooms by signing in to your Zoom Room computer with the user credentials that have the Zoom Rooms privilege enabled. You will then be able to assign the room to the name of any of the rooms that you added.

Choosing a Zoom Rooms controller
The main consideration for choosing a controller is device capabilities. While some control systems allow joining meetings in one-touch, this simplicity can come at the expense of customizability. If your staff prefers bringing their own device to meetings, a one-touch solution might not be the right fit. However, this added connectivity can also add additional complications to your room, making seamless collaboration... well, a lot less seamless.
Many solutions include a controller as part of a bundle. This is usually a tablet running custom firmware that allows users to control the camera, volume, mute the microphone, and join and leave meetings. Because these use custom firmware, however, they’re usually locked to whichever device manufacturer your hub/codec is made by.
What kind of camera is best for a Zoom Room?
What camera you choose will depend on the size of your room, the placement of the table and chairs, and what sort of framing and AI features you’re looking for. There are a ton of cameras certified for Zoom Rooms: here are the main features you can break them down by.
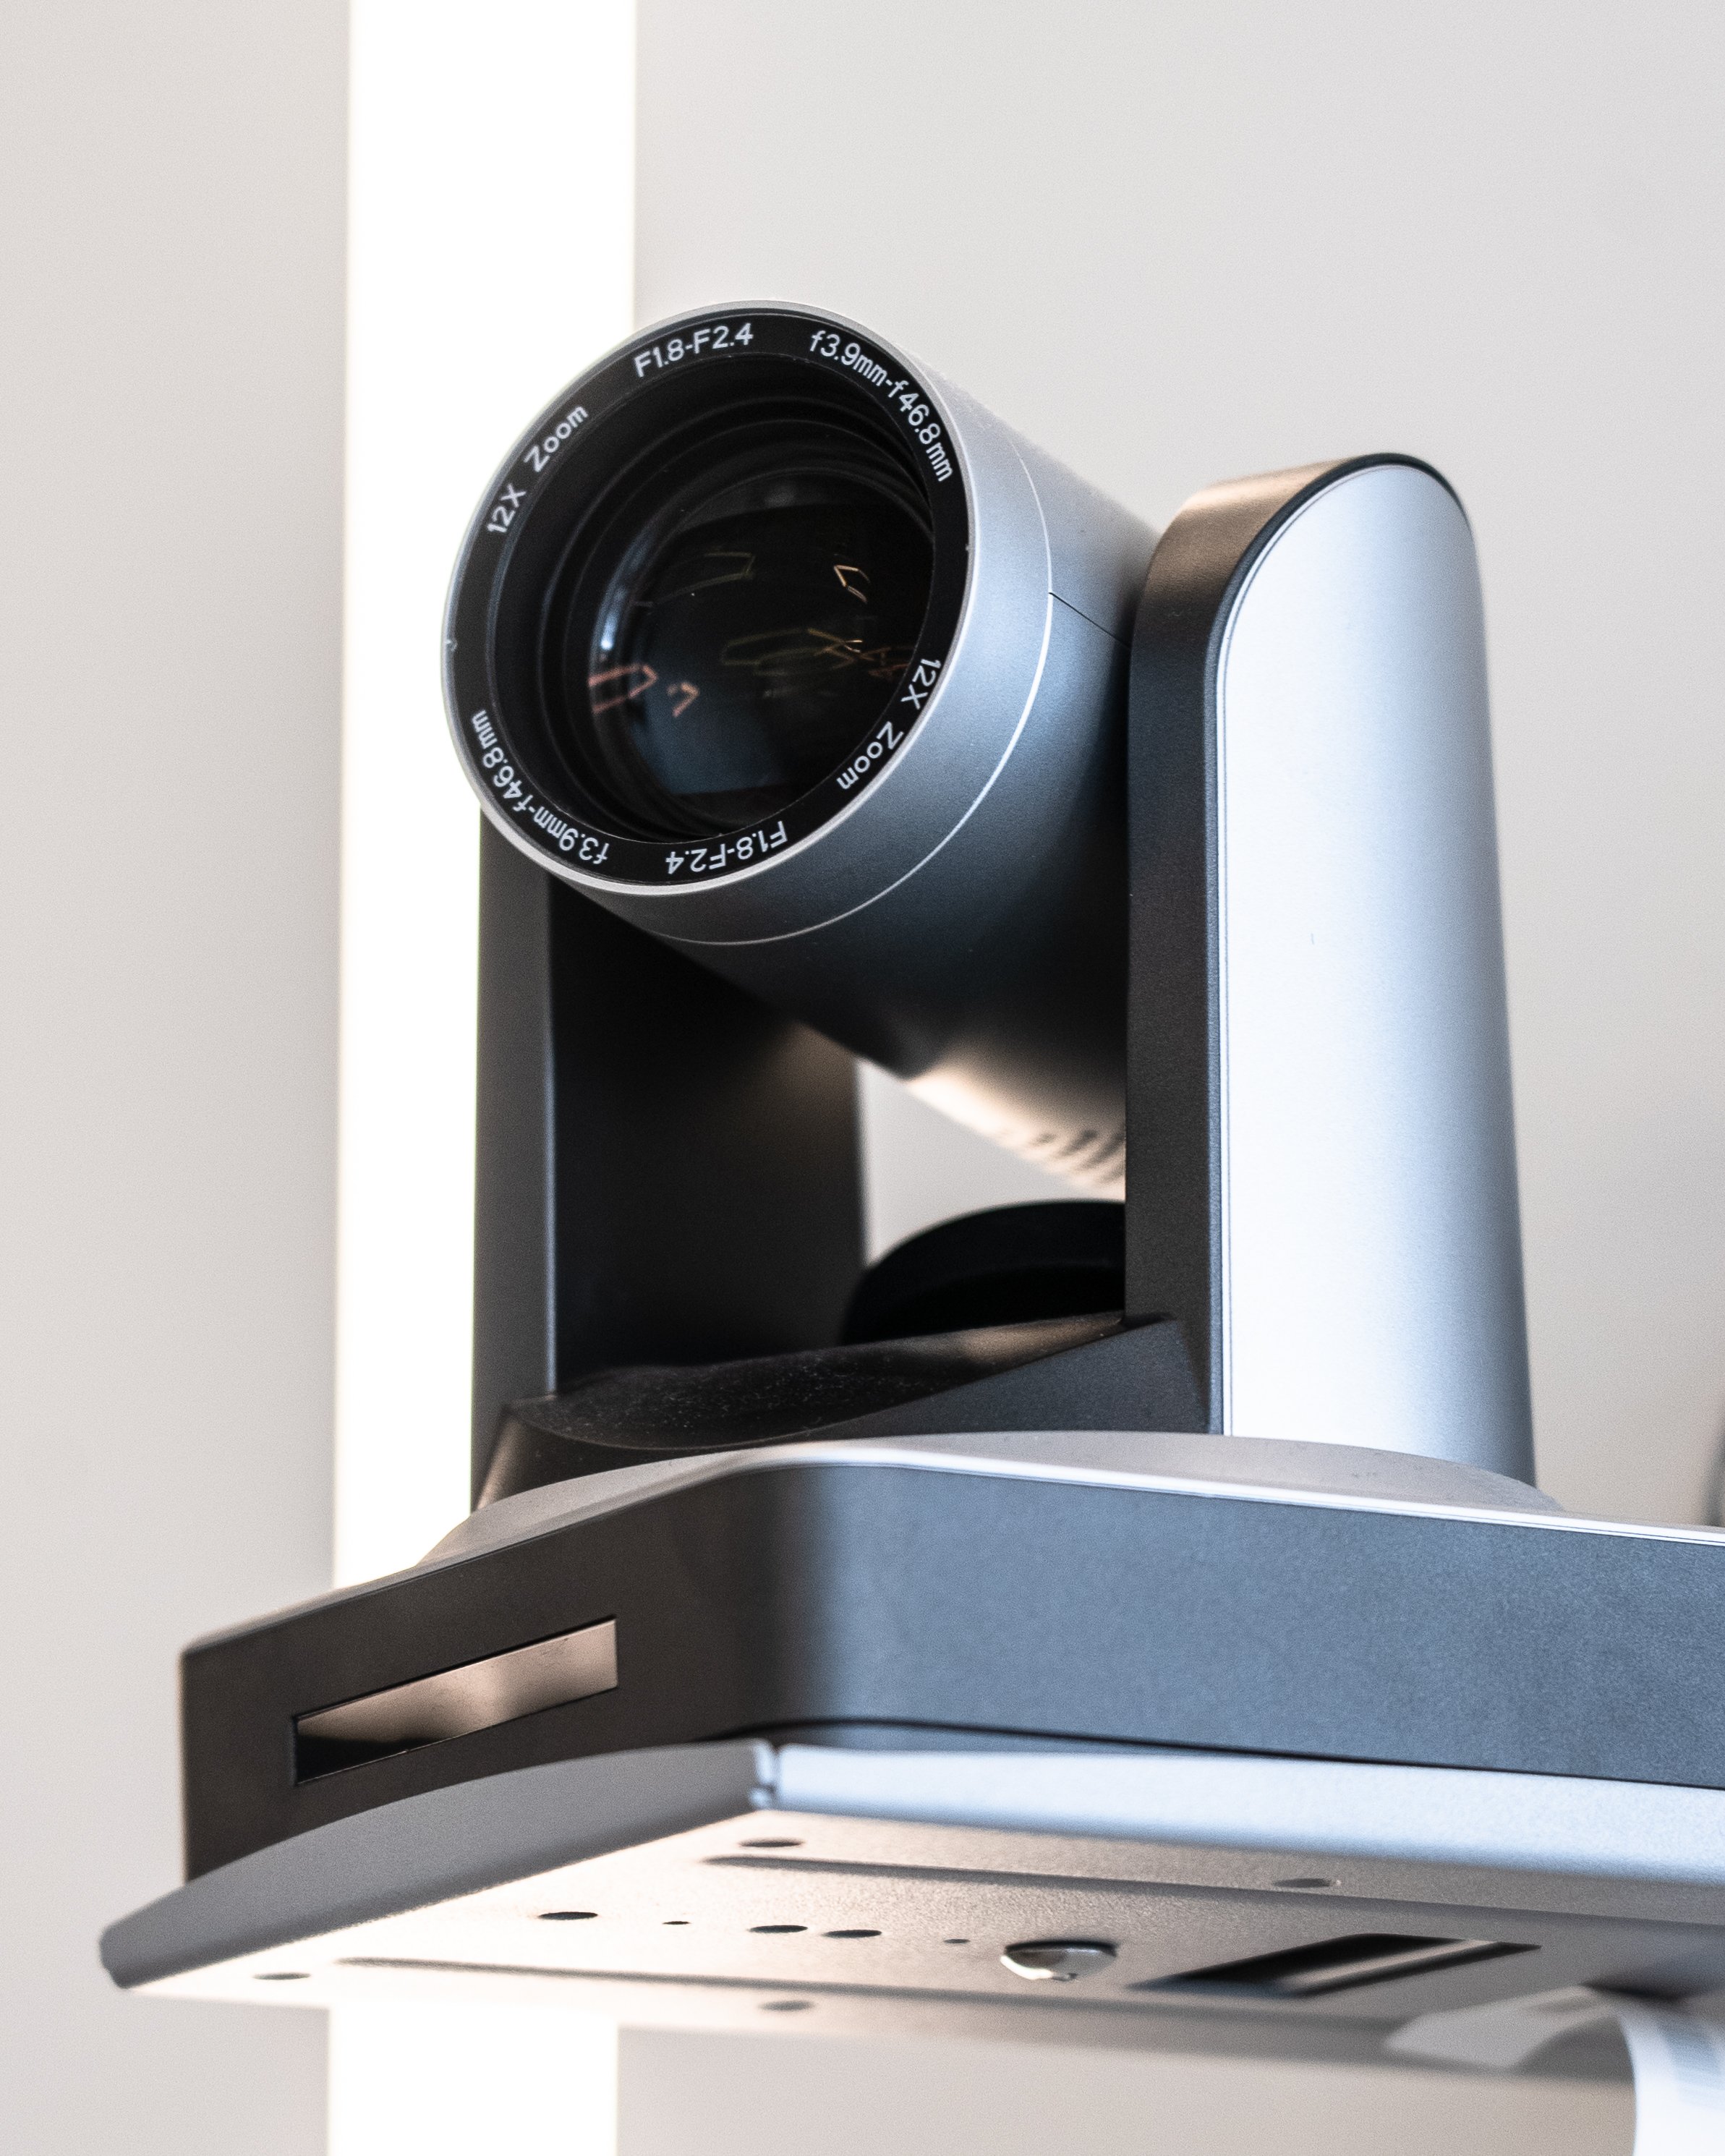
Electronic PTZ
Electronic PTZ (ePTZ) is the most common type of camera for Zoom Rooms. The hardware of these cameras features a fixed frame and field of view. To frame meeting participants better, these cameras use software to zoom and pan the field of view of the camera. These cameras can support more AI features, such as multi-focus framing (where each attendee has their own video window) and picture-in-picture modes. However, for larger rooms, the video quality is often not as good as a mechanical PTZ camera.
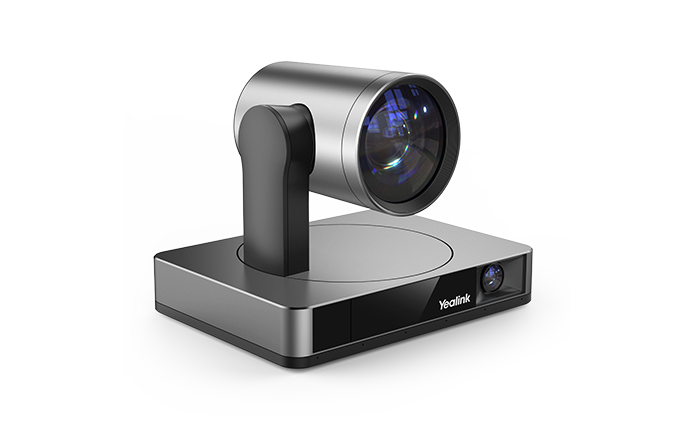
Mechanical PTZ
Mechanical PTZ cameras use motors to spin, tilt, and zoom the camera to frame the video. Unlike an electronic PTZ camera, these cameras have adjustable focal length, and can usually rotate 360 degrees. This makes them much more versatile than an ePTZ camera. However, there are a few downfalls. Because mechanical PTZ cameras adjust the field of view of the camera, features like picture in picture video are unavailable. Additionally, the moving parts are vulnerable to dust and dirt—but if you really n need a mechanical PTZ camera, there are weatherproofed versions available for a premium.

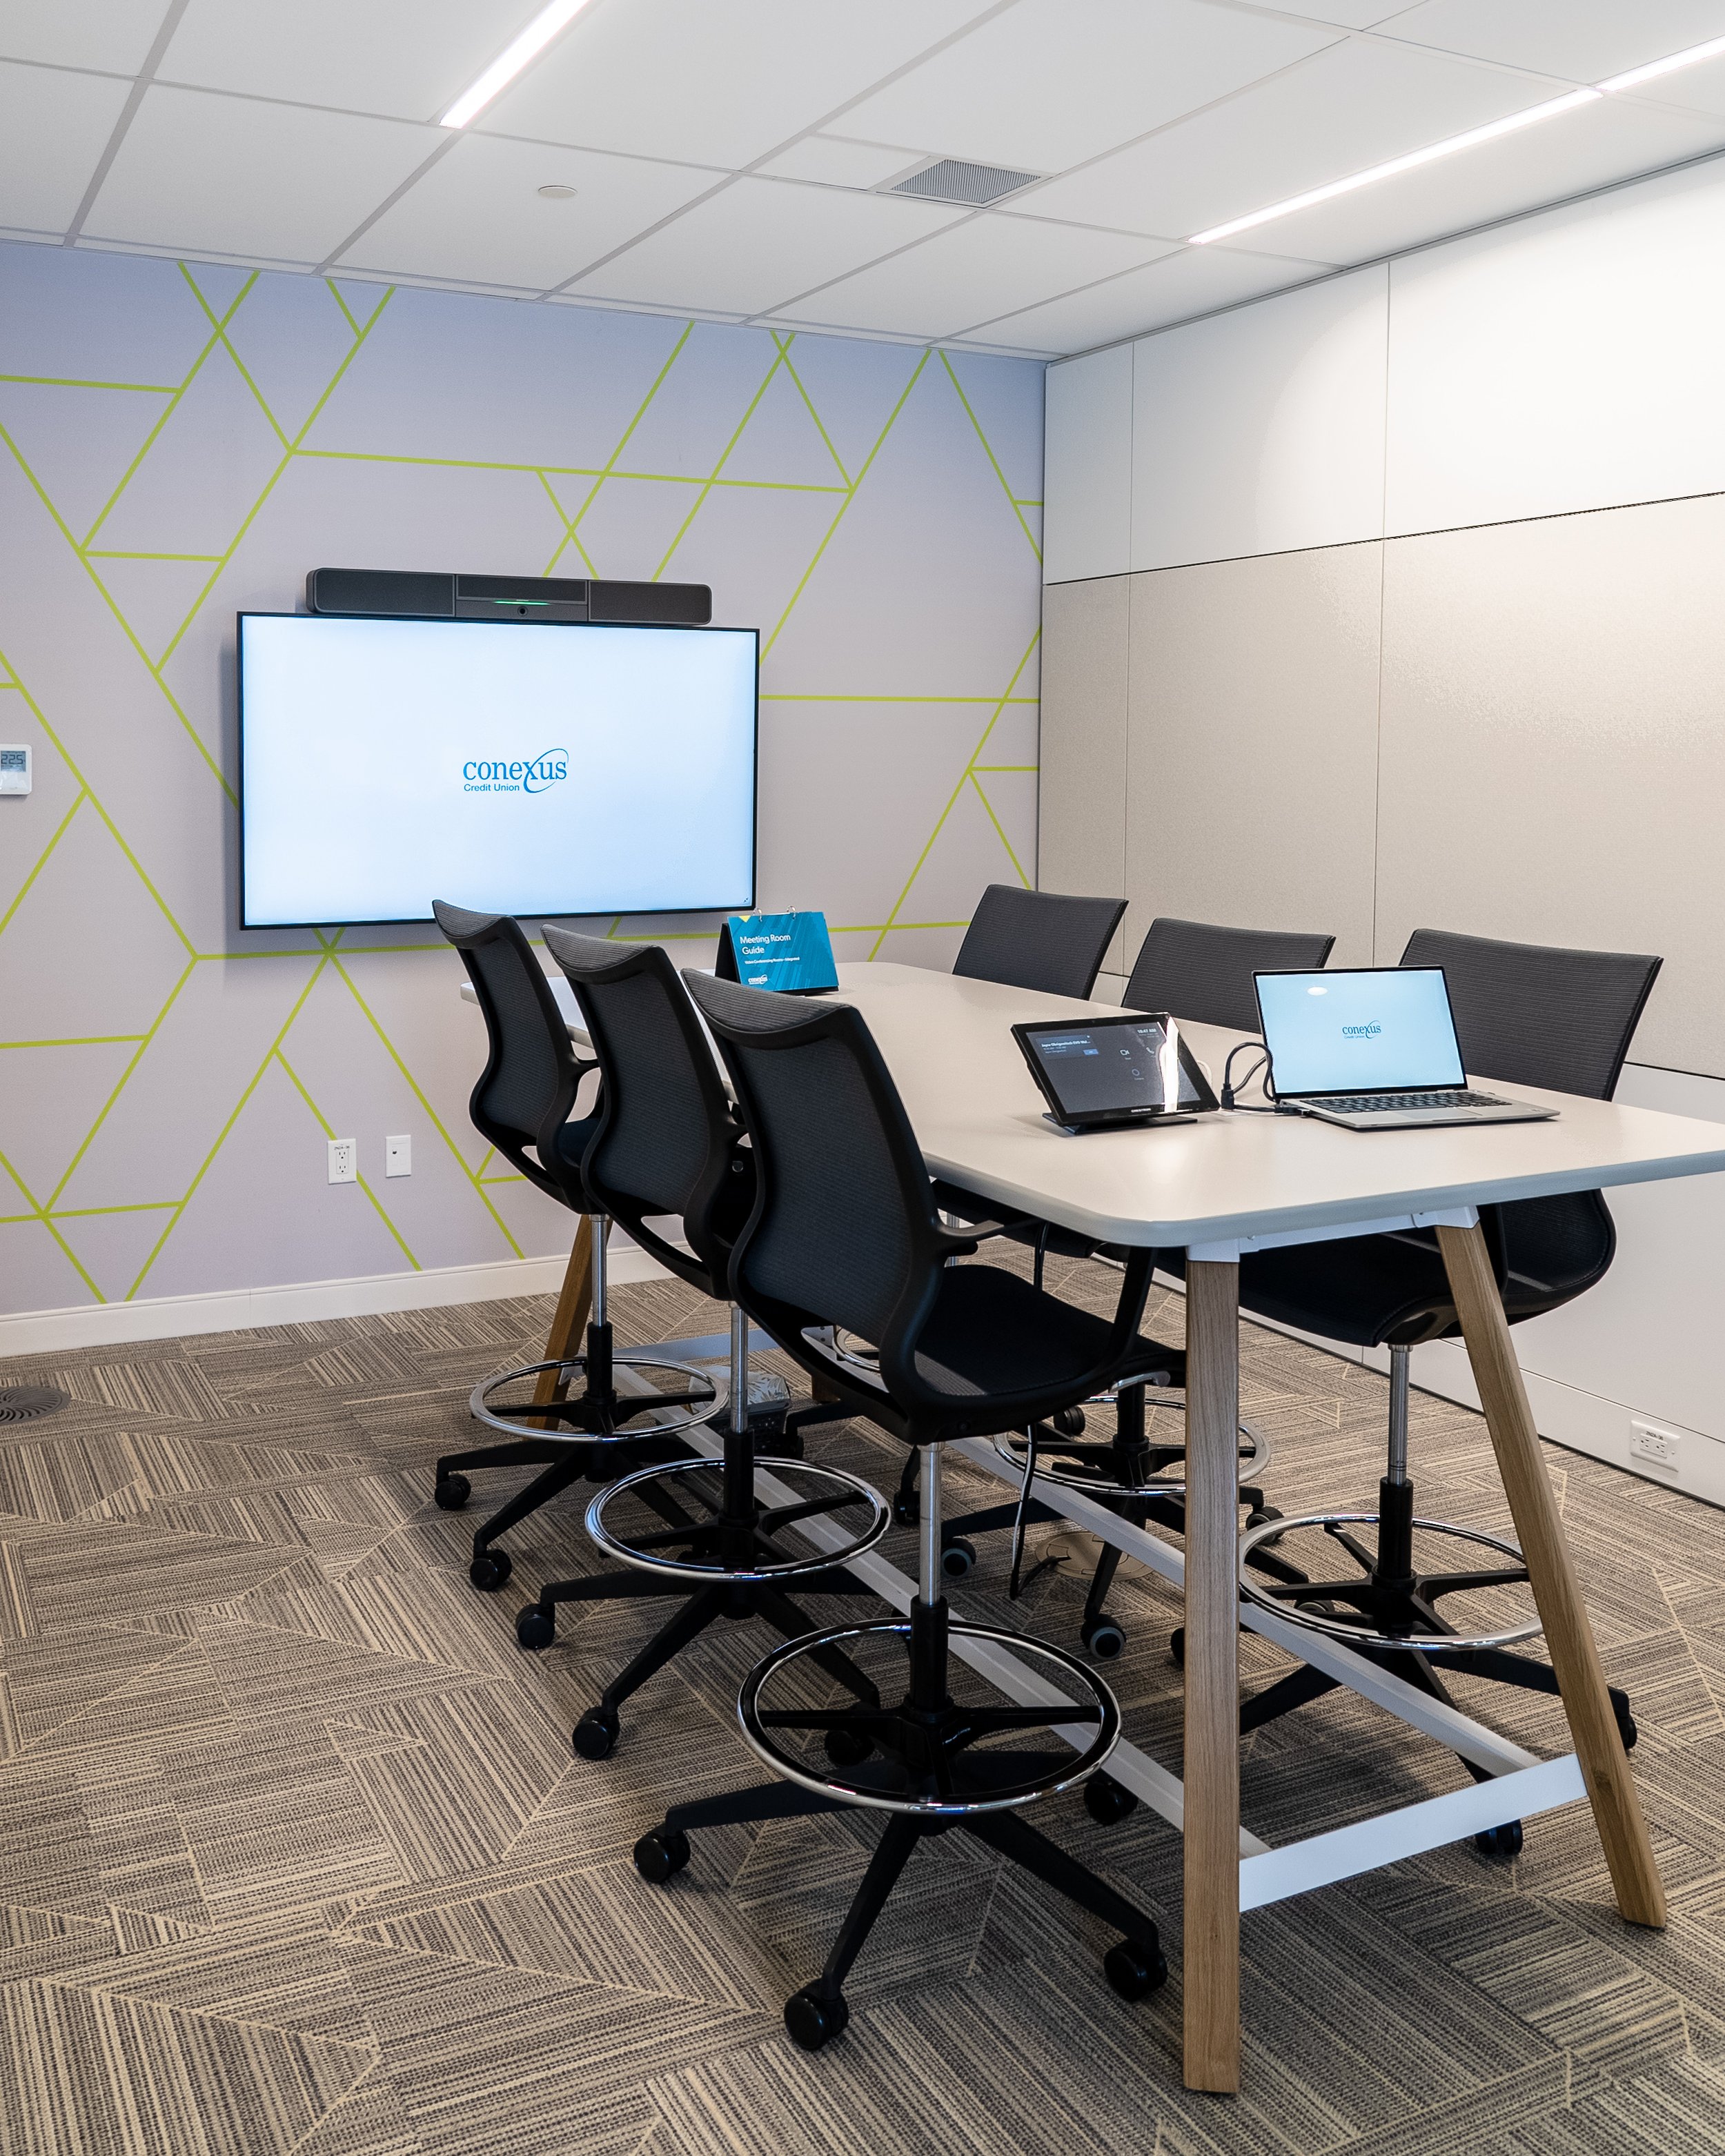
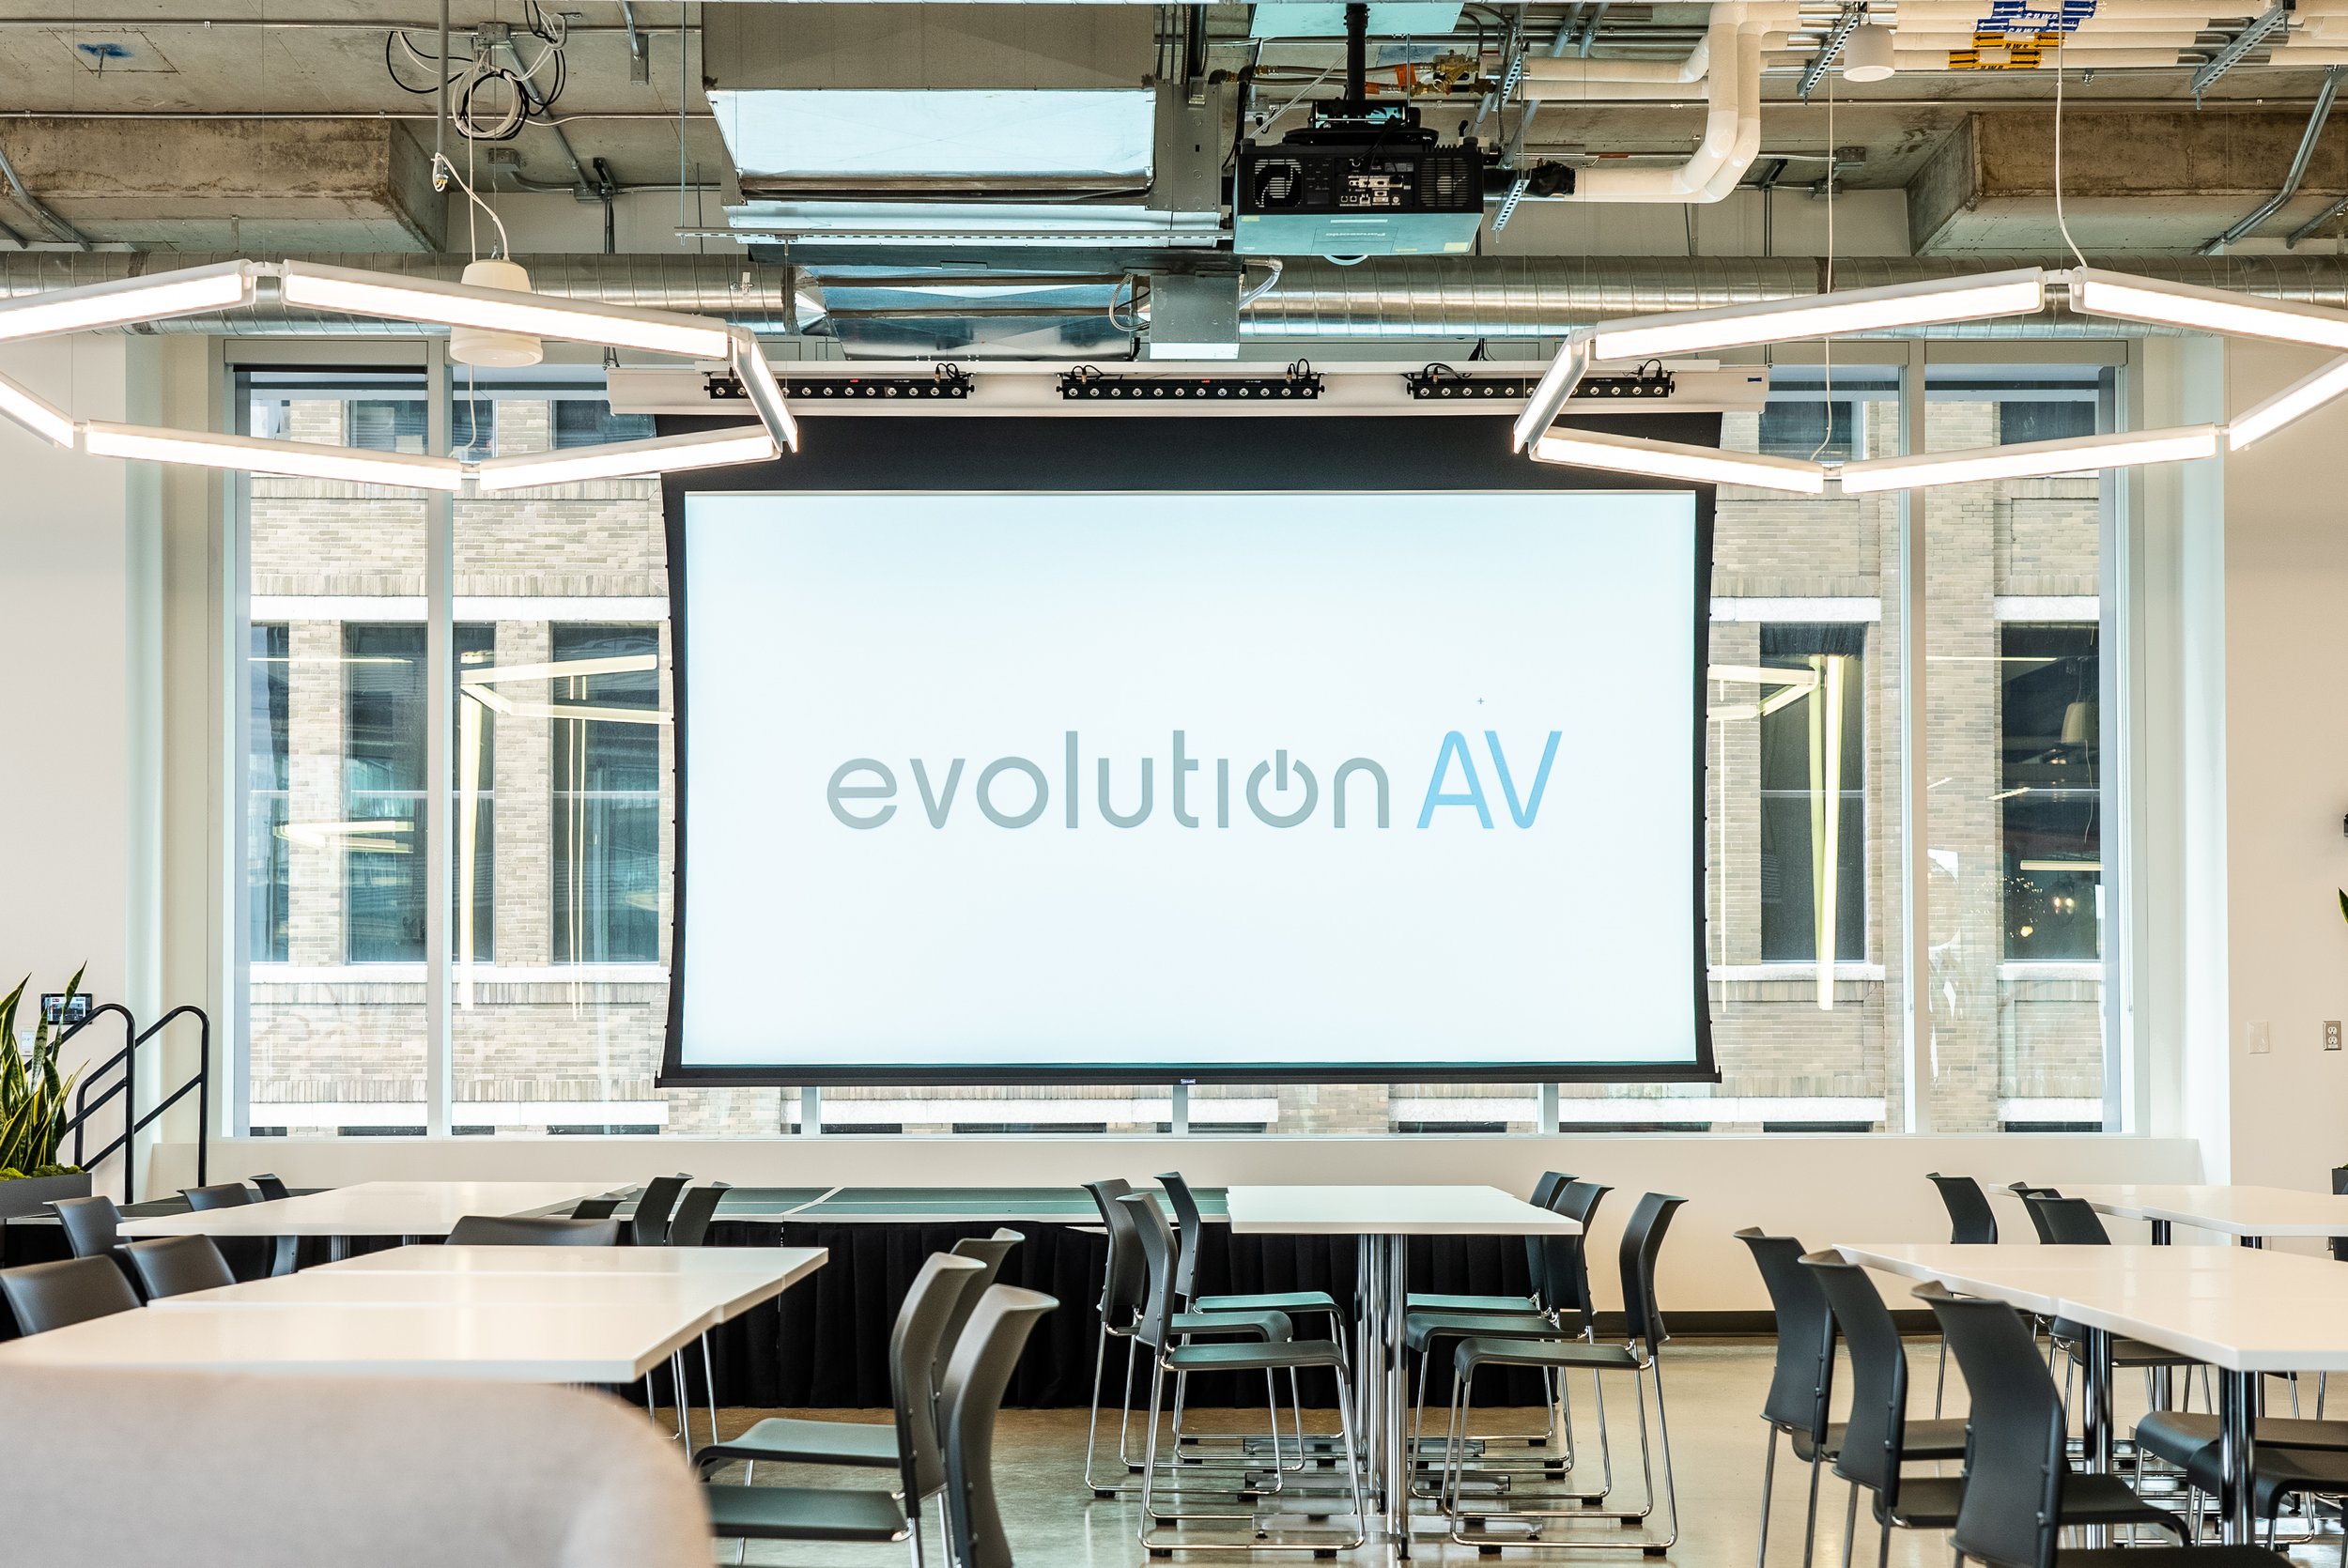
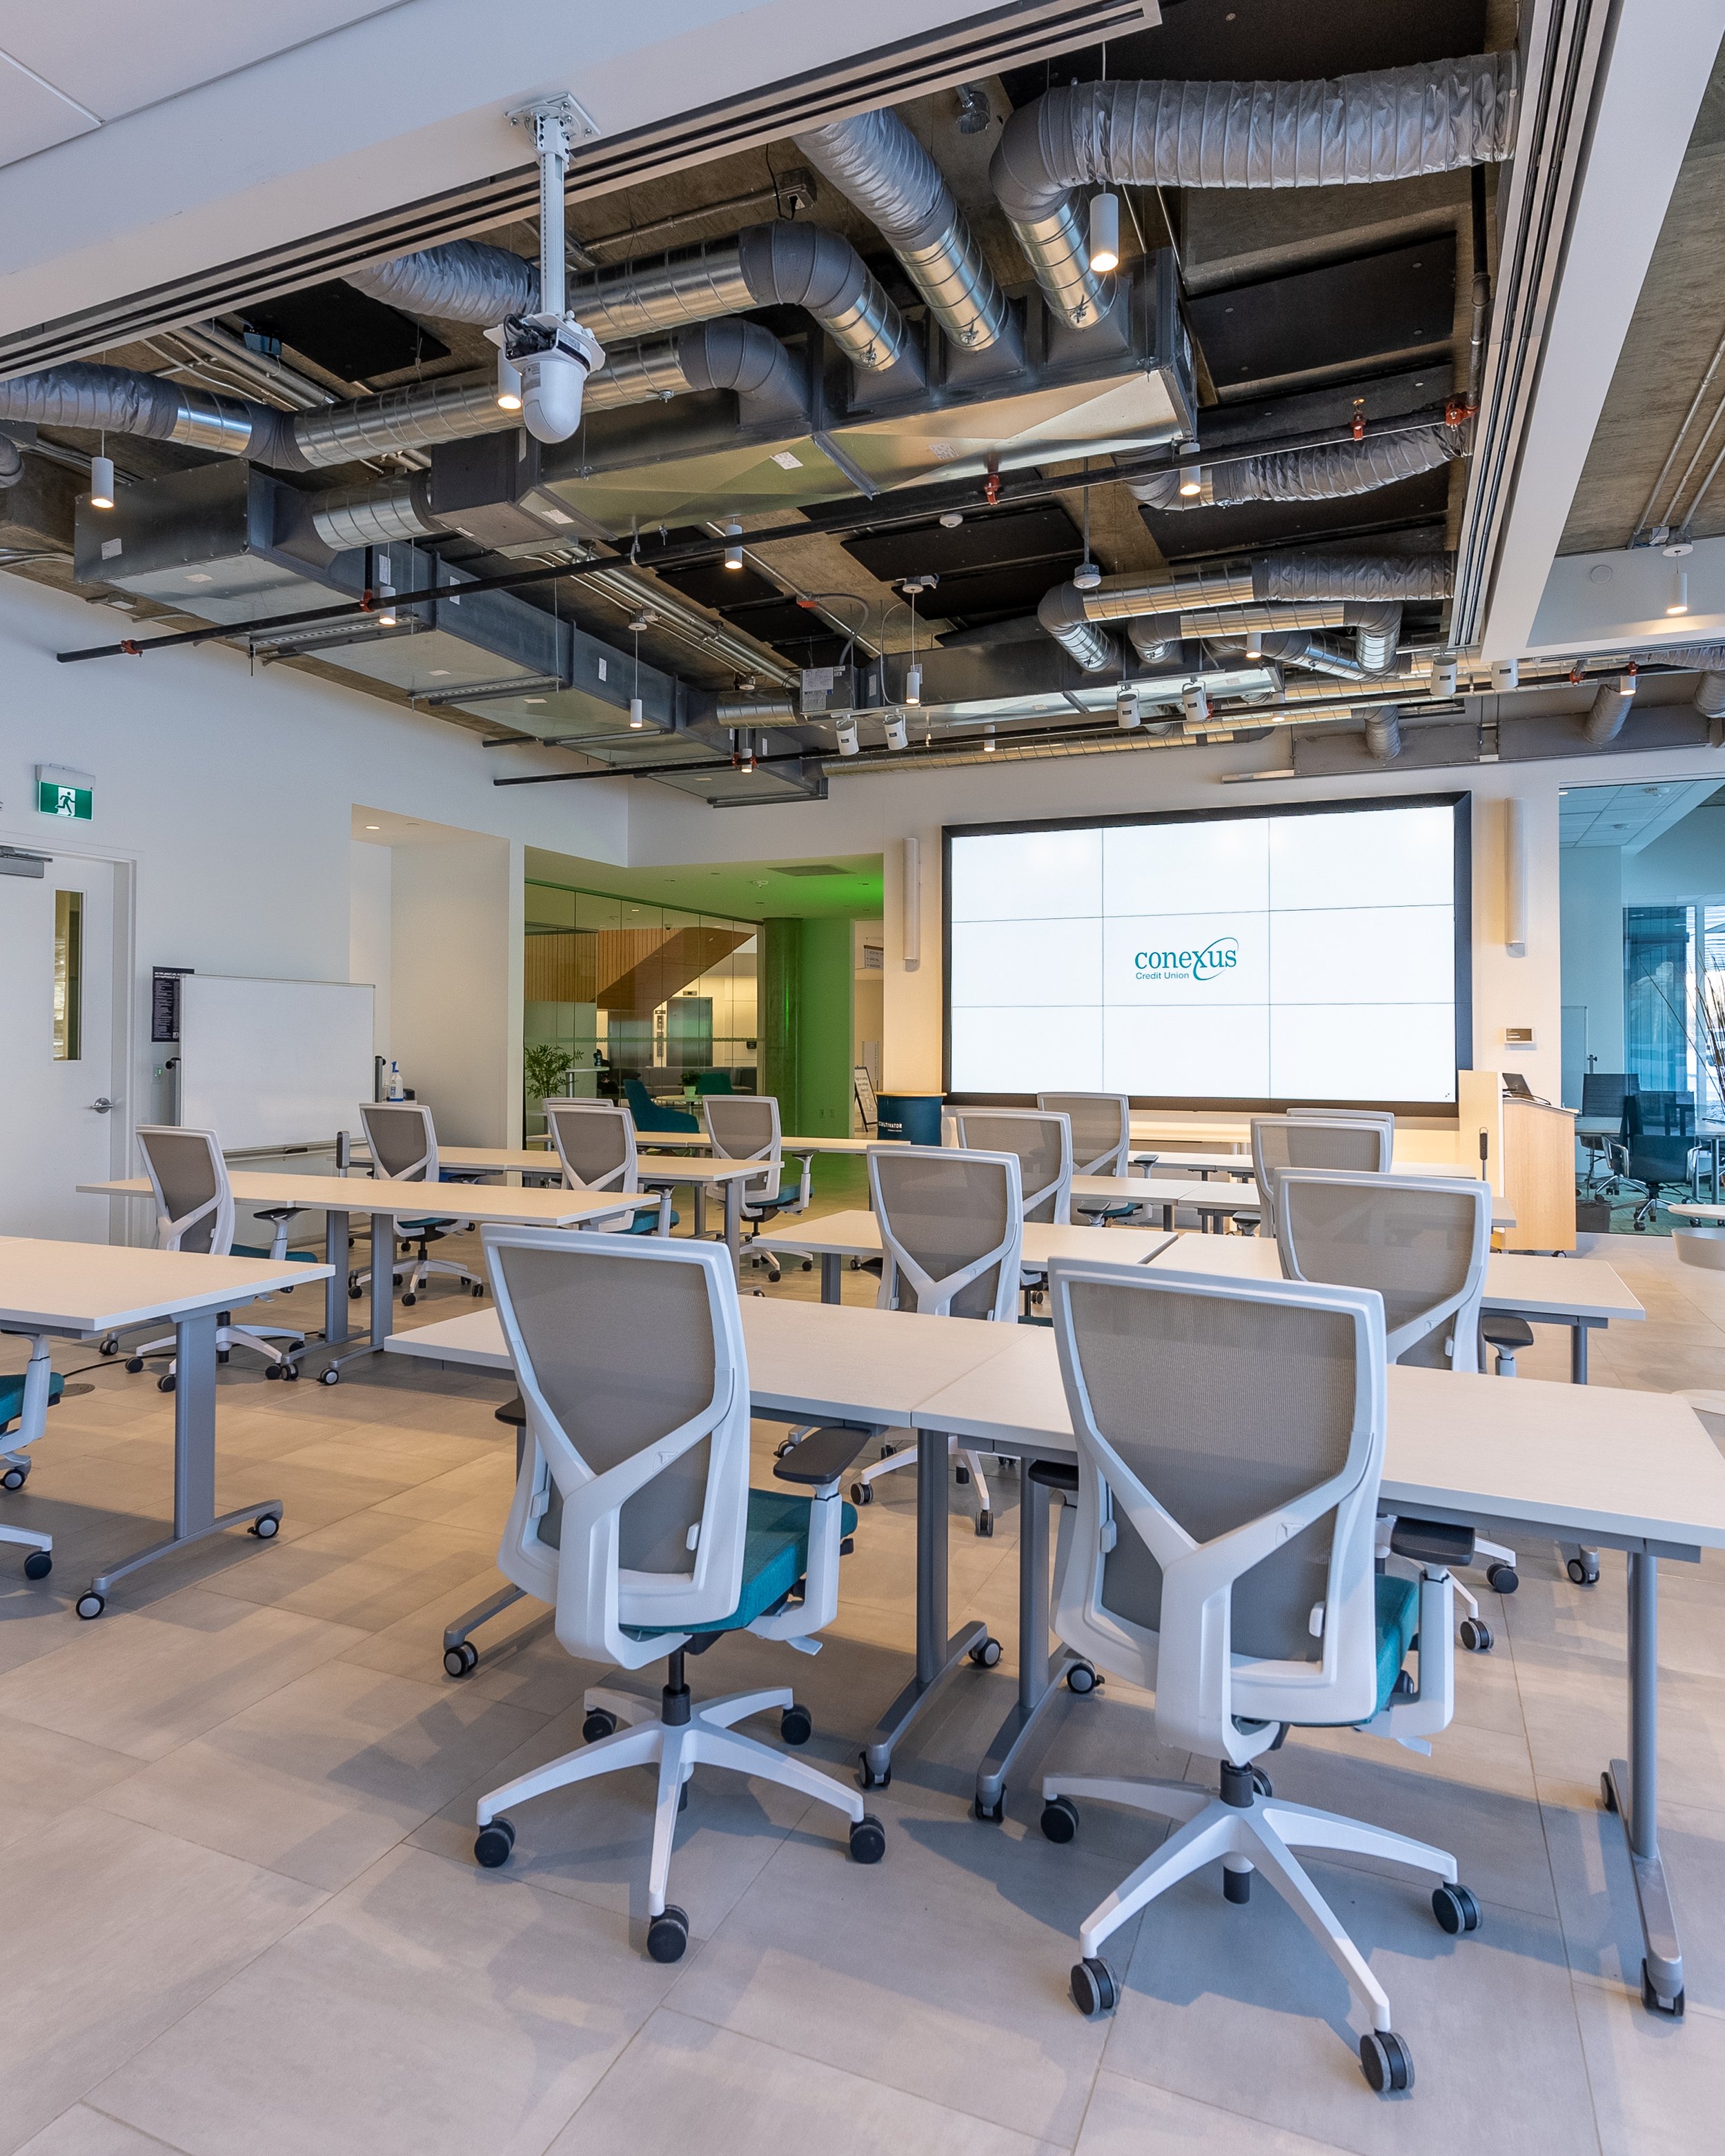
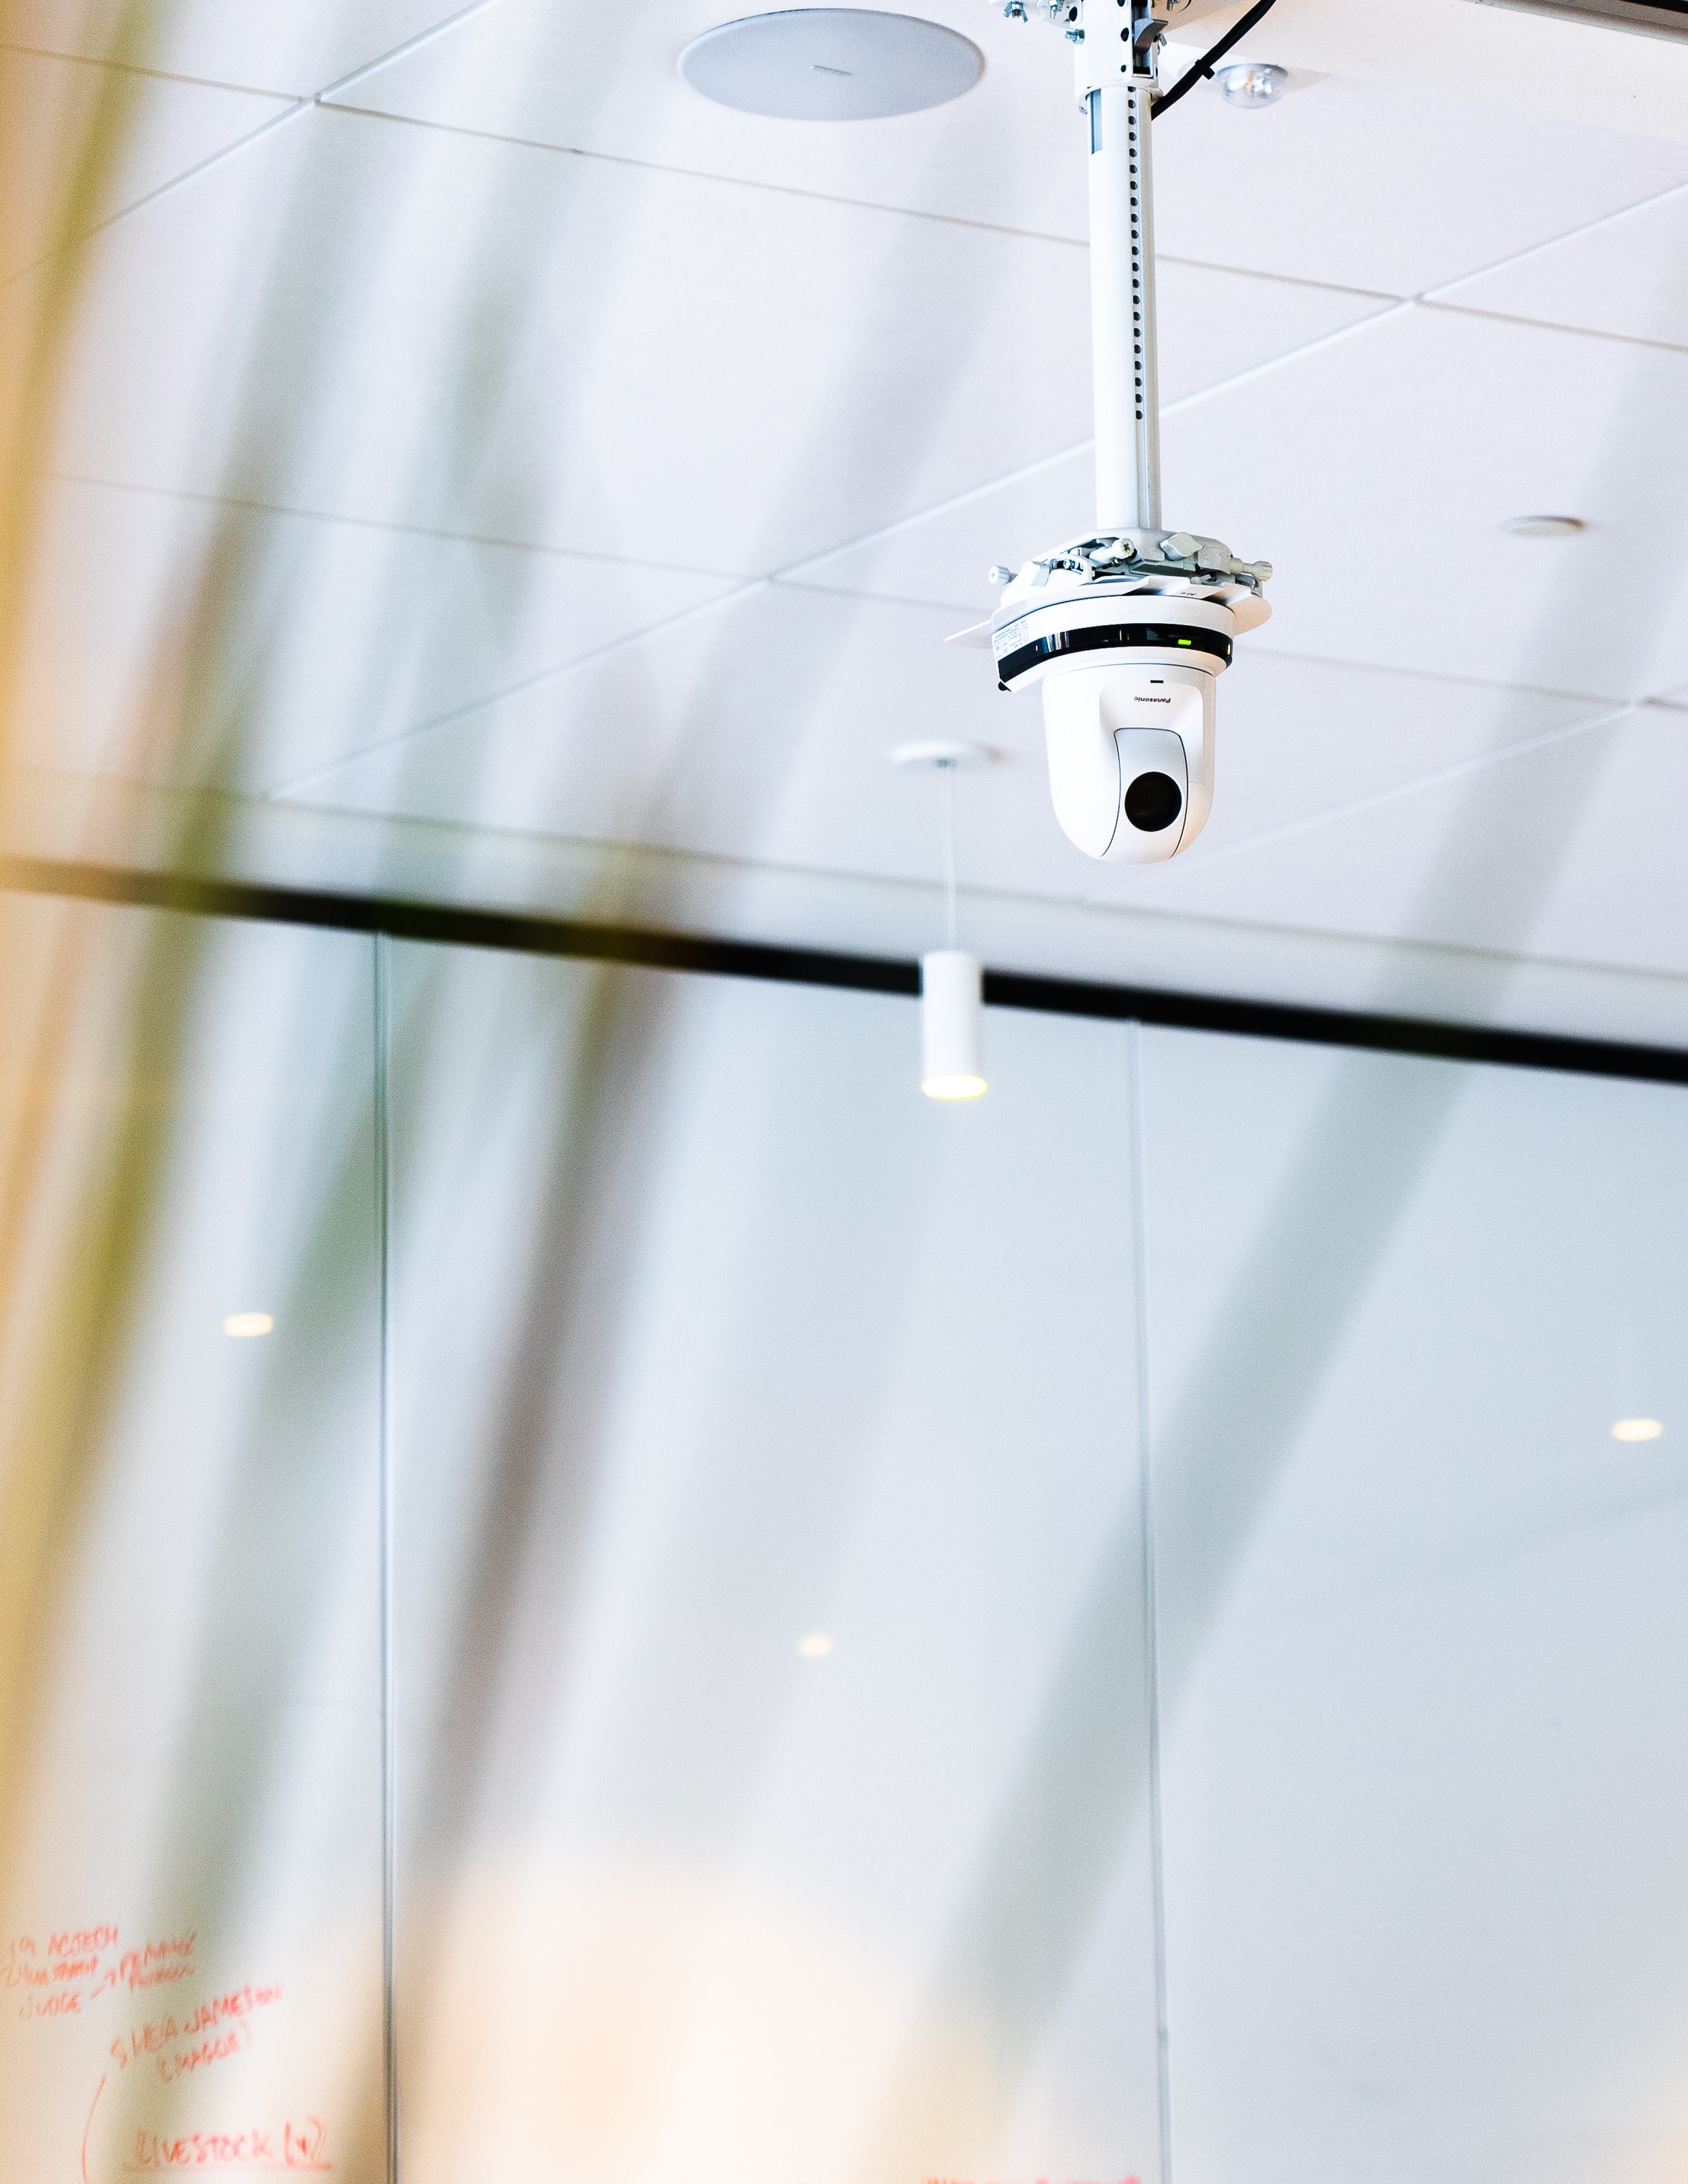
An example of a classroom/training room using a multi-camera Zoom Rooms system.
About Multi-Camera Systems
One of the most recent developments in the boardroom AV space has been the introduction of multi-camera systems. There are two main ways to accomplish this.
The first way is choosing a system that natively supports multiple cameras. Companies like Logitech and Neat have introduced 360-degree cameras that are placed in the center of the table. These can be used to display the most recent speakers, or to capture reactions more naturally as in-room meeting participants look at each other instead of towards the display.
The other way is using Zoom’s built-in multi-camera software. After enabling multi-camera mode, virtual attendees will be able to see camera feeds from all of the cameras in the room (up to 3). Although this can be an easier solution to set up, it doesn’t pack the same sort of framing or AI features that dedicated multi-camera hardware does.
How do I join a meeting from a Zoom Room?
Zoom Room controllers are designed to make joining meetings easy. On the desktop touch panel interface, a list of all the upcoming meetings in the room will be listed, with the most recent meeting highlighted displaying a “Start” or “Join” button. Simply press the button, and you’ll enter the meeting!
For rooms using the Zoom Rooms Controller app on an Android tablet or iPad, you’ll need to make sure you pair your device to the room first before you can join a meeting. To do this, open the Zoom app on your mobile device. Then, go to the “Meeting” tab and select the Pairing icon in the top left corner of the screen. You can then enter the pairing code that is shown on the Room display. You can then follow the same directions as above to join a meeting.
How do I share my screen in a Zoom Room?
There are two ways to share your screen in a Zoom Room: wired and wireless.
Wired
Using an HDMI ingest device (commonly included in most Zoom Rooms systems), you can connect your device directly to the Room system. Once connected, the active device should automatically appear on the display. If it doesn’t, delect “Share” on the Zoom Rooms controller.
Wireless
Via the Zoom App: Using ultrasonic sound, your device can detect the Room that it is currently in. Then, using the desktop client or mobile app, select “Share.” Your shared screen will show on the Room display.
Using the Web: Visit share.zoom.us on your device, enter the Meeting ID and press “Share Screen.” You’ll then be shown a pop-up which allows you to choose which application, window, or screen you’d like to share to the display.
Using Airplay: For users with Apple devices, you can use AIrPlay to share your screen to a Zoom Room. On a Mac, click on Control Center, then the Screen Mirroring icon. Simply click on the name of the room to share your screen. On an iPhone or iPad, swipe down from the upper right hand corner to bring up the Control Center, then follow the same instructions as Macs.
How do I Change the View on my Zoom Room?
You can choose to show meeting participants in Speaker View, Thumbnail View, Gallery View or Flexible Active Speaker View in your Zoom Room. To do this, tap the “View” button on the Room controller when in a meeting. You can then select the layout of participants on the display.
Speaker View: Displays a large view of the person currently speaking, with a small thumbnail of the previous speaker. In rooms with multiple displays, there is no thumbnail of the previous speaker—other participants will be displayed on the secondary display.
Thumbnail View: Thumbnail View displays the active speaker in a large window, and then shows up to 8 additional participants in thumbnails below the main speaker.
Gallery View: Gallery View displays participants in equally spaced windows on the display. Up to 25 participants can be displayed per screen by default, or a more condensed view can be enabled in the settings to show up to 49 people per display.
Note: for Zoom Rooms with multiple displays, the default layout can be changed in the administrator settings. See this article for more details.
How do I use Chat in a Zoom Room?
For larger meetings or webinars, you may want to use Zoom’s chat function to participate in conversations without interrupting the main speaker. You can do this using the room control panel or a device linked to the room system (see “How do I share my screen in a Zoom Room”) for more information.)
To use the chat function, press the Chat button located in the middle of the room control panel. You’ll then be able to chat with other participants using the virtual keyboard on the touch screen. Please note that while using the Chat function, you will be unable to control other room functions, like camera switching and muting.
How do I put people in breakout rooms using a Zoom Room?
Using Breakout Rooms in a Zoom Room is just as simple as it is in the desktop app. On the control panel, select “More” and then select “Breakout Rooms.” You’ll then be able to decide how many rooms you want, assign rooms automatically or manually, or let participants choose the room they want to join. Once you’re done, select “Create” to start the breakout rooms.
Have a question that we didn’t answer? Get in touch—our team can get your boardroom set up to take full advantage of all of Zoom’s features.