
Classroom AV Troubleshooting: 7 Things to Try When Something Isn’t Working
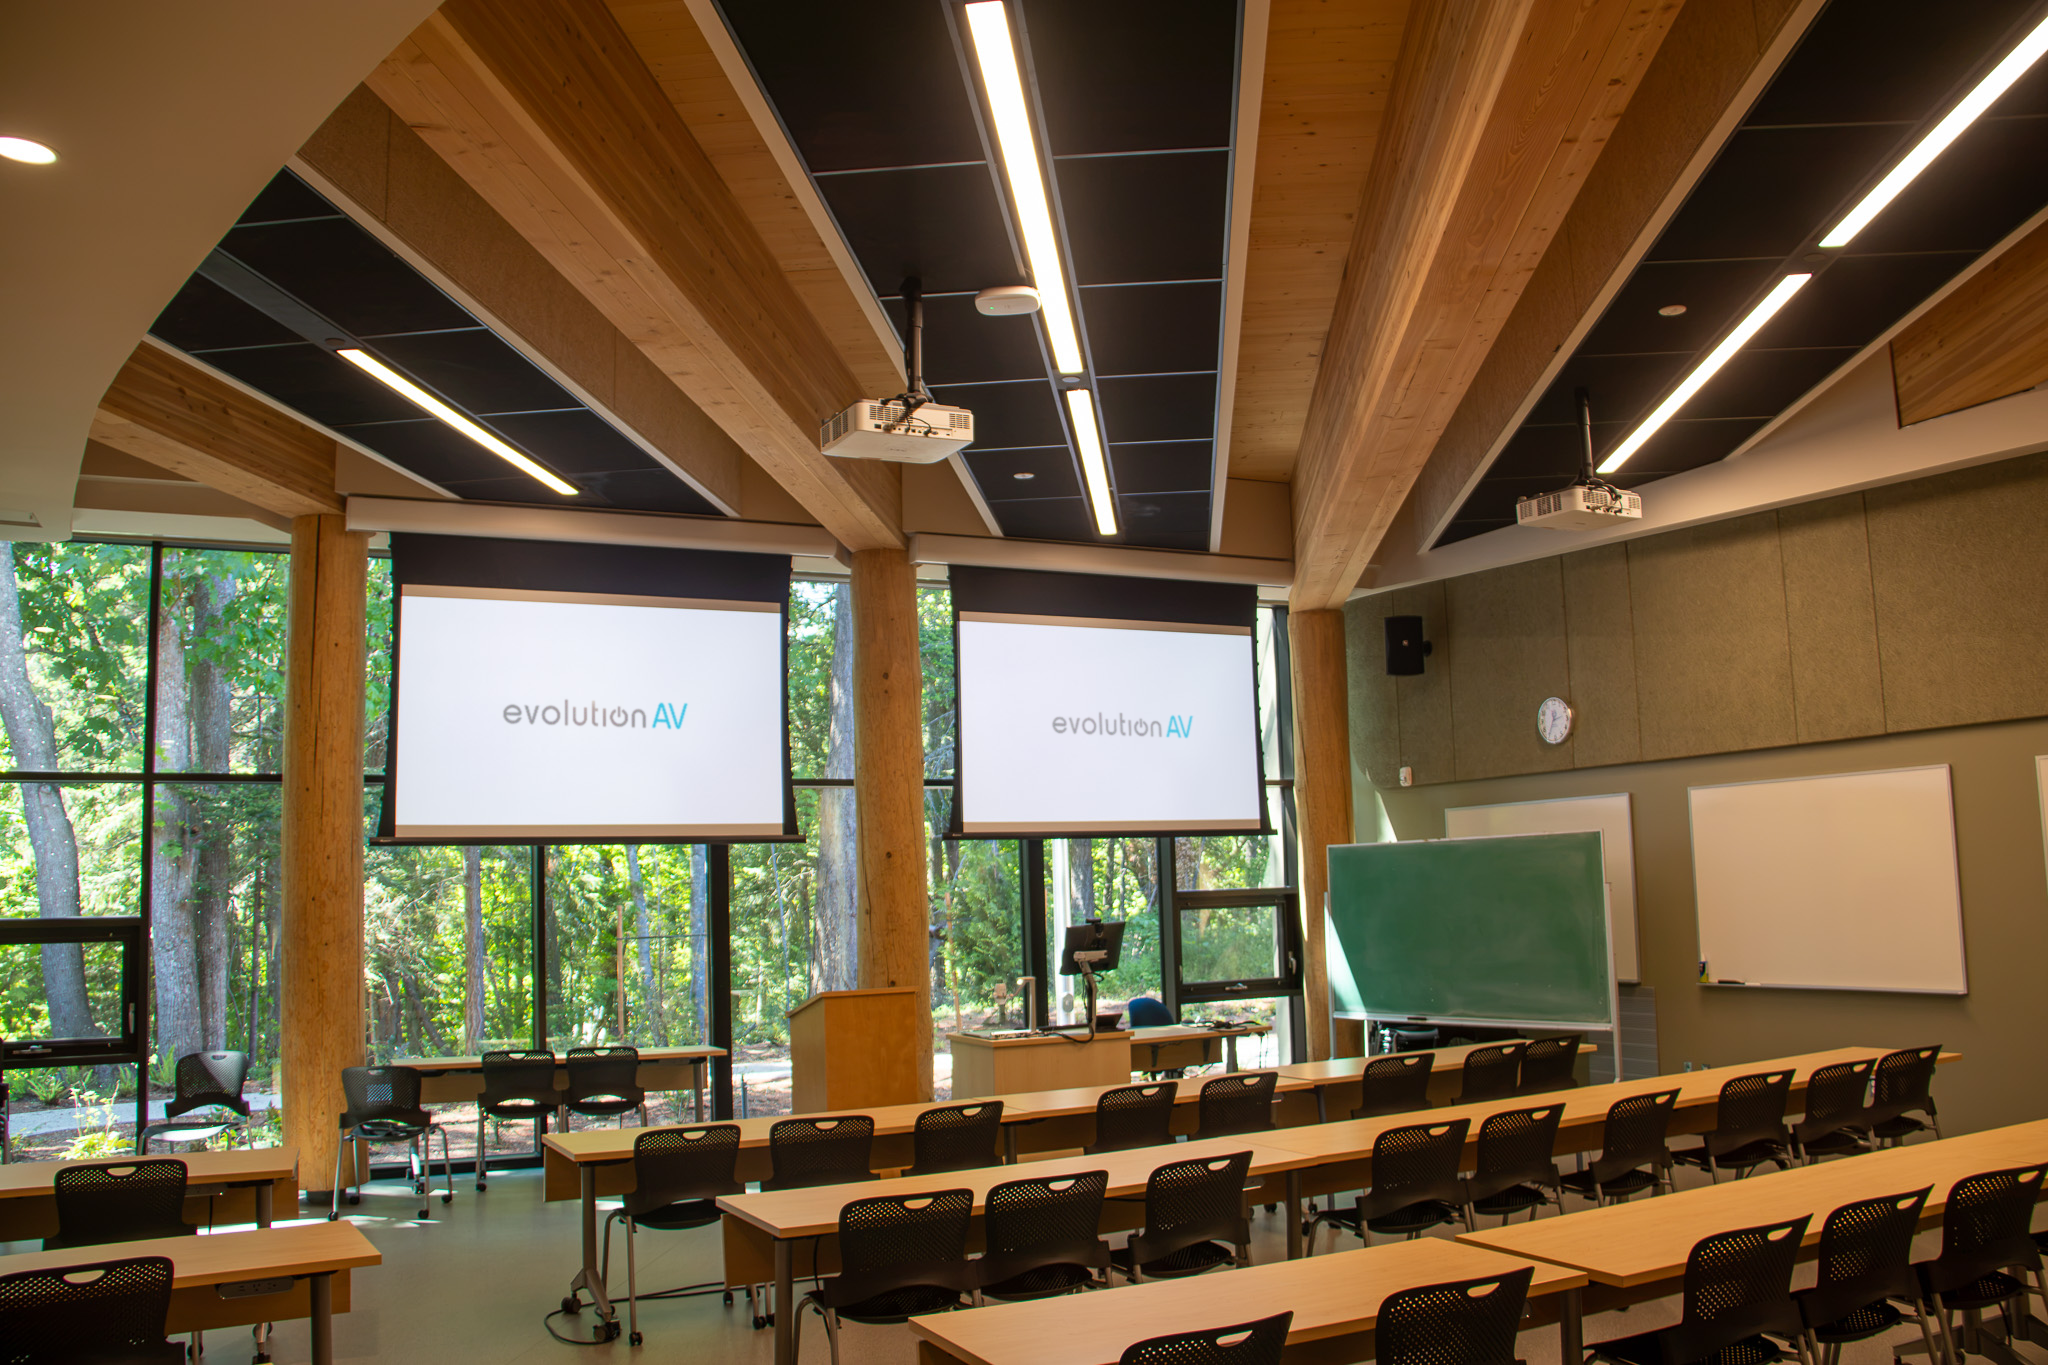
After weeks of summer downtime, classroom AV systems go from barely turning on to being used for multiple hours a day. It’s frustrating when technology doesn’t work the way it’s supposed to, but in a full classroom during the first week of school, a small AV problem can be detrimental. A display that won’t connect, wireless microphone with interference, or a lecture capture system that won’t record impacts the productivity of a class and leads to a mountain of support tickets for an IT team to tackle.
The first few weeks of a new semester are always busy as staff and students get used to new spaces and technology. Instructors shouldn’t be expected to troubleshoot complex AV systems themselves, but sometimes waiting in the long service queue isn’t an option.
Knowing a few basic checks can help resolve straightforward issues quickly. Here are seven things to try when classroom AV isn't working the way it should before calling for help.
1. Room Control Panel Isn't Responding
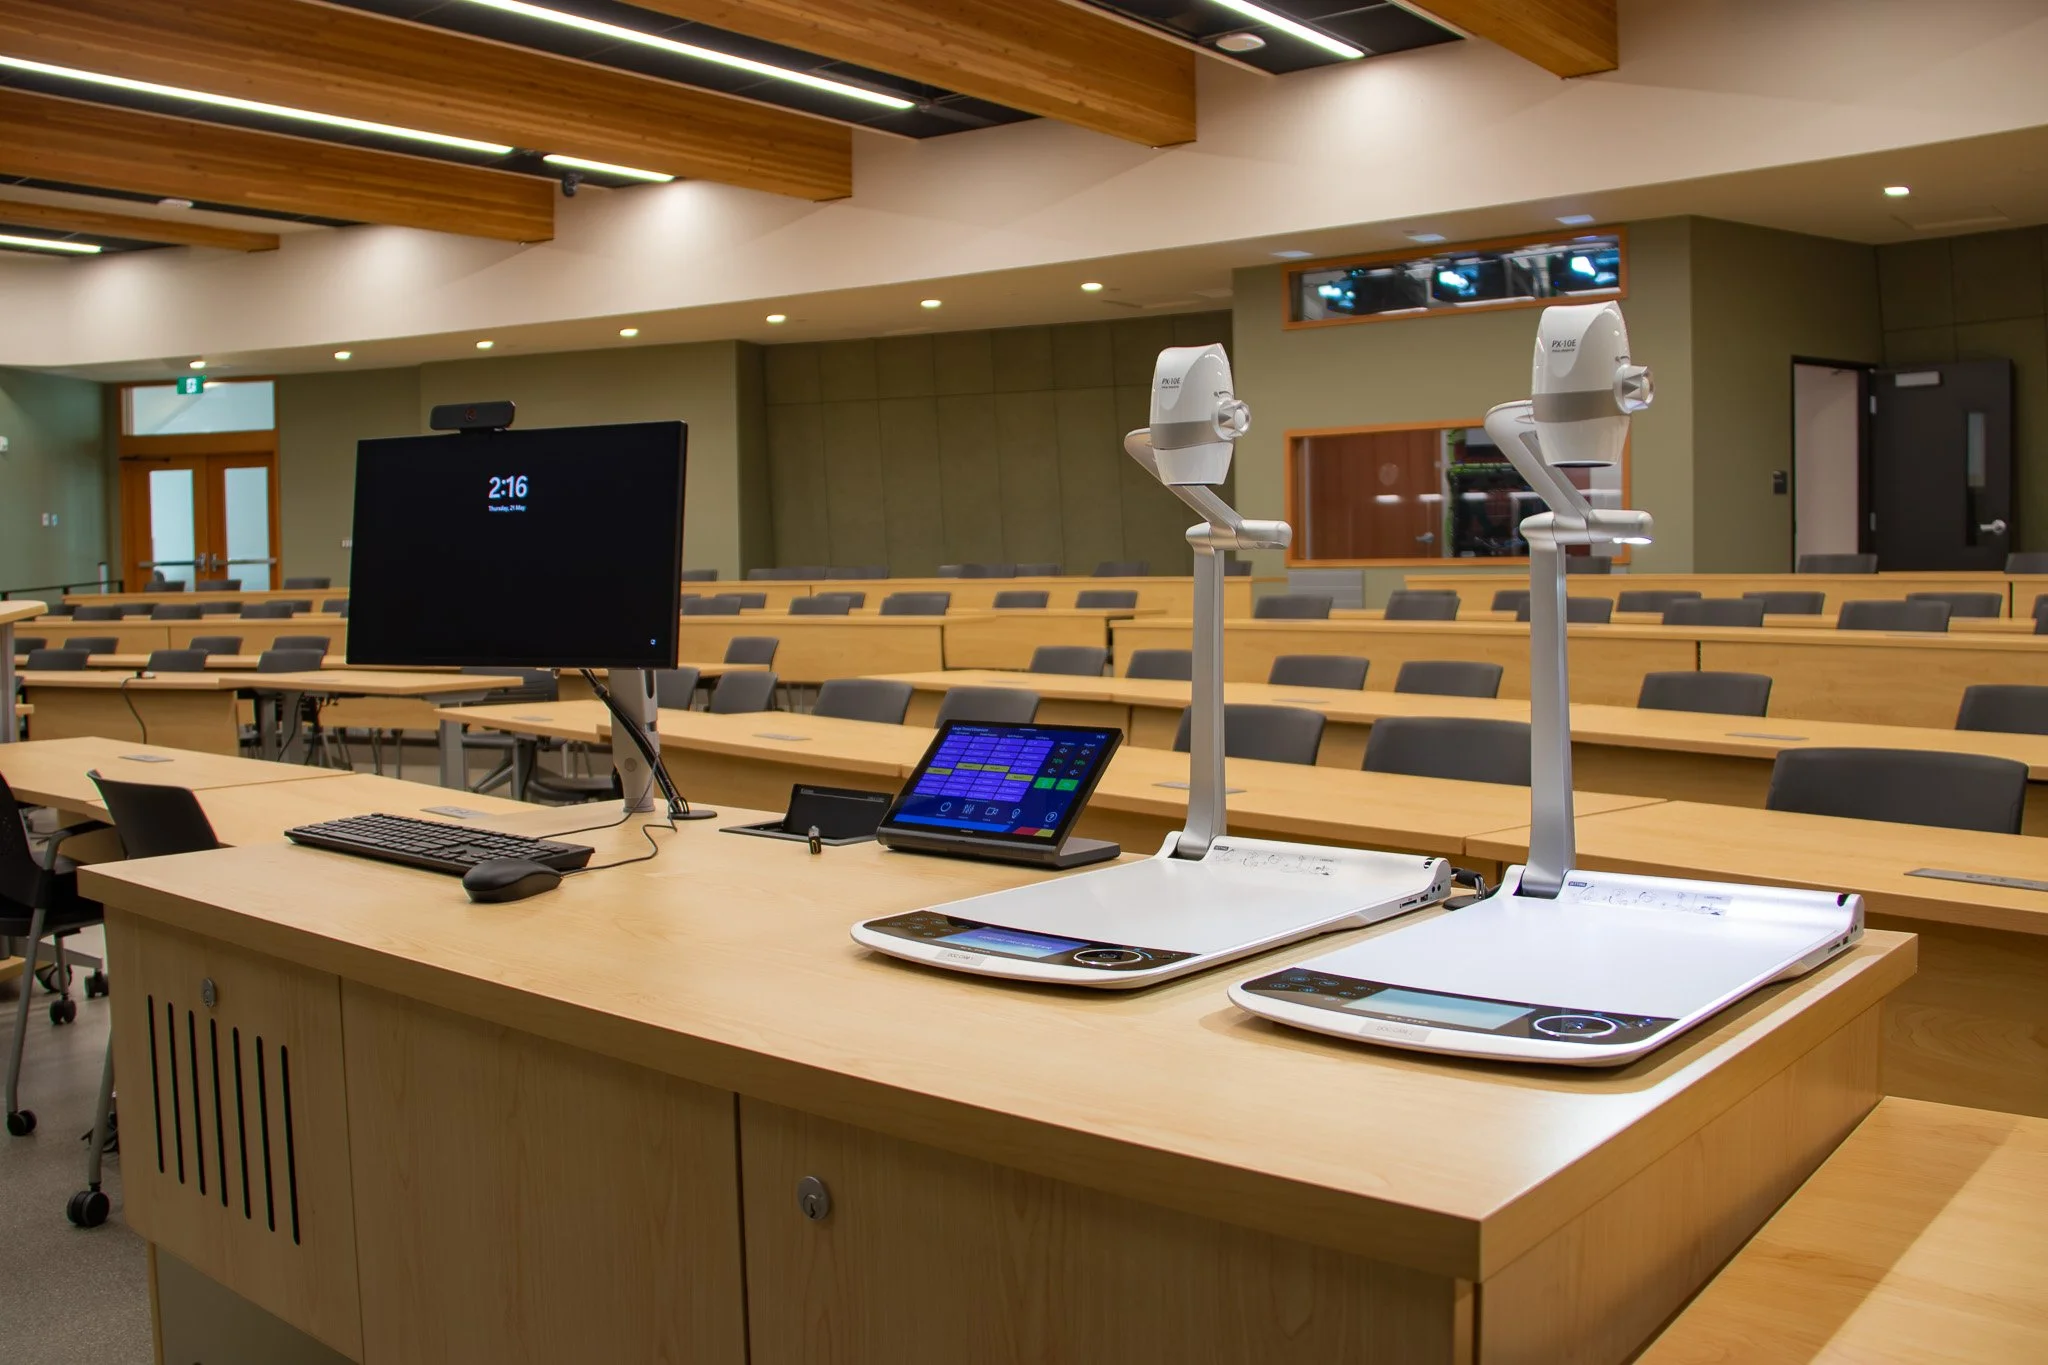
If the classroom display, projector, or audio system isn't responding, start with the room's control panel or touch panel. Make sure it has powered on and is showing the normal room controls.
If the screen is blank or appears frozen, give it a few seconds to start up or reconnect. If there is a physical power button, make sure the panel is powered on. Some systems may also have a refresh option that can reload the available room controls.
If the panel is working but the room isn't responding to commands, avoid repeatedly pressing buttons or trying to reboot equipment yourself. A completely unresponsive touch panel is usually a good reason to contact IT or AV support rather than opening the equipment cabinet or trying to restart the equipment behind it. It could be an issue with the interface, control system, or equipment it's communicating with.
2. Screens or Displays Aren’t Connecting
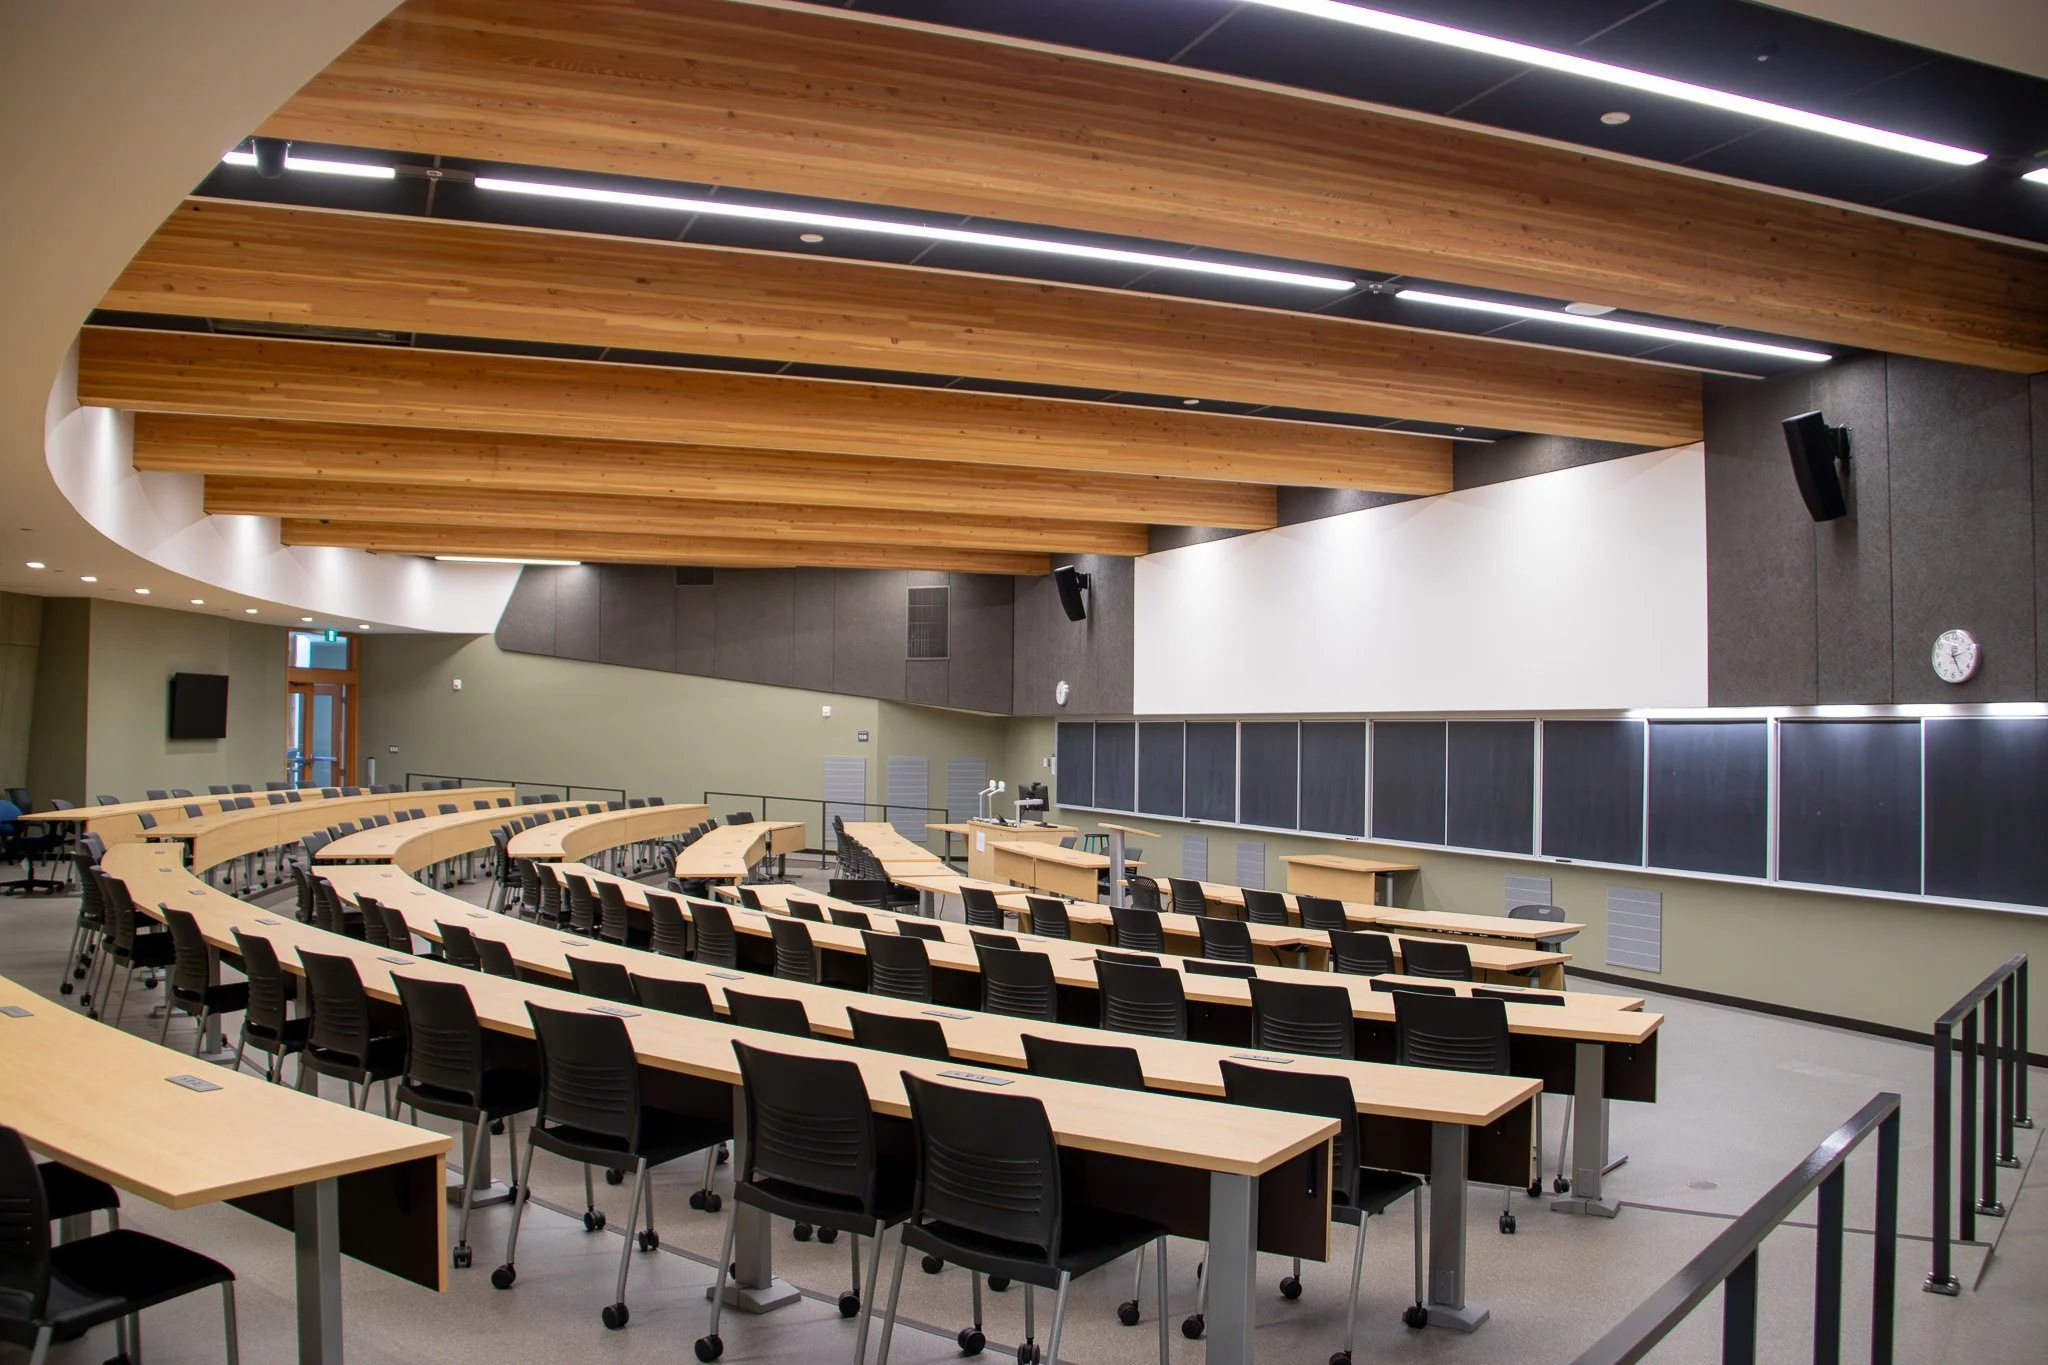
Source selection and connections are easy to overlook. A laptop may not automatically recognize the connected device, so it’s important to check that the correct input or source has been selected in the display settings. If the room has a touch panel or control system, make sure the right source has been selected there as well.
If a presentation isn't appearing on the display and the source is correct, take a look at the connection between the instructor’s device and the room. USB and HDMI ports can become loose over time or adapters can fail. Disconnect and reconnect the cable or adapter, then give the system a few seconds to refresh.
If there’s still no signal, try another source, cable, or adapter if one is available. For example, switch from your laptop to the classroom PC. If the classroom PC displays correctly, the problem is more likely somewhere between the laptop and the room system.
3. There’s No Sound
When it comes to audio issues, it can be tricky to know where the problem is. Between the computer, speakers, and microphones, there are multiple areas where the signal can be interrupted.
If a video or presentation has no sound, first make sure the computer itself isn't muted and that the correct audio output is selected. A laptop may be sending audio to its internal speakers, Bluetooth headphones, or another device instead of the classroom system. If the room has a touch panel, double check the source and volume there too.
If you're using a wireless microphone, check that the transmitter is powered on, the battery has charge and the microphone is not muted. If there are spare batteries available in the classroom, replacing the battery is a quick way to rule that out.
If the microphone is powered on but consistently cuts out, produces interference or stops working as you move around the room, that's a different issue that may require an AV technician.
4. The Camera is Pointed in the Wrong Direction
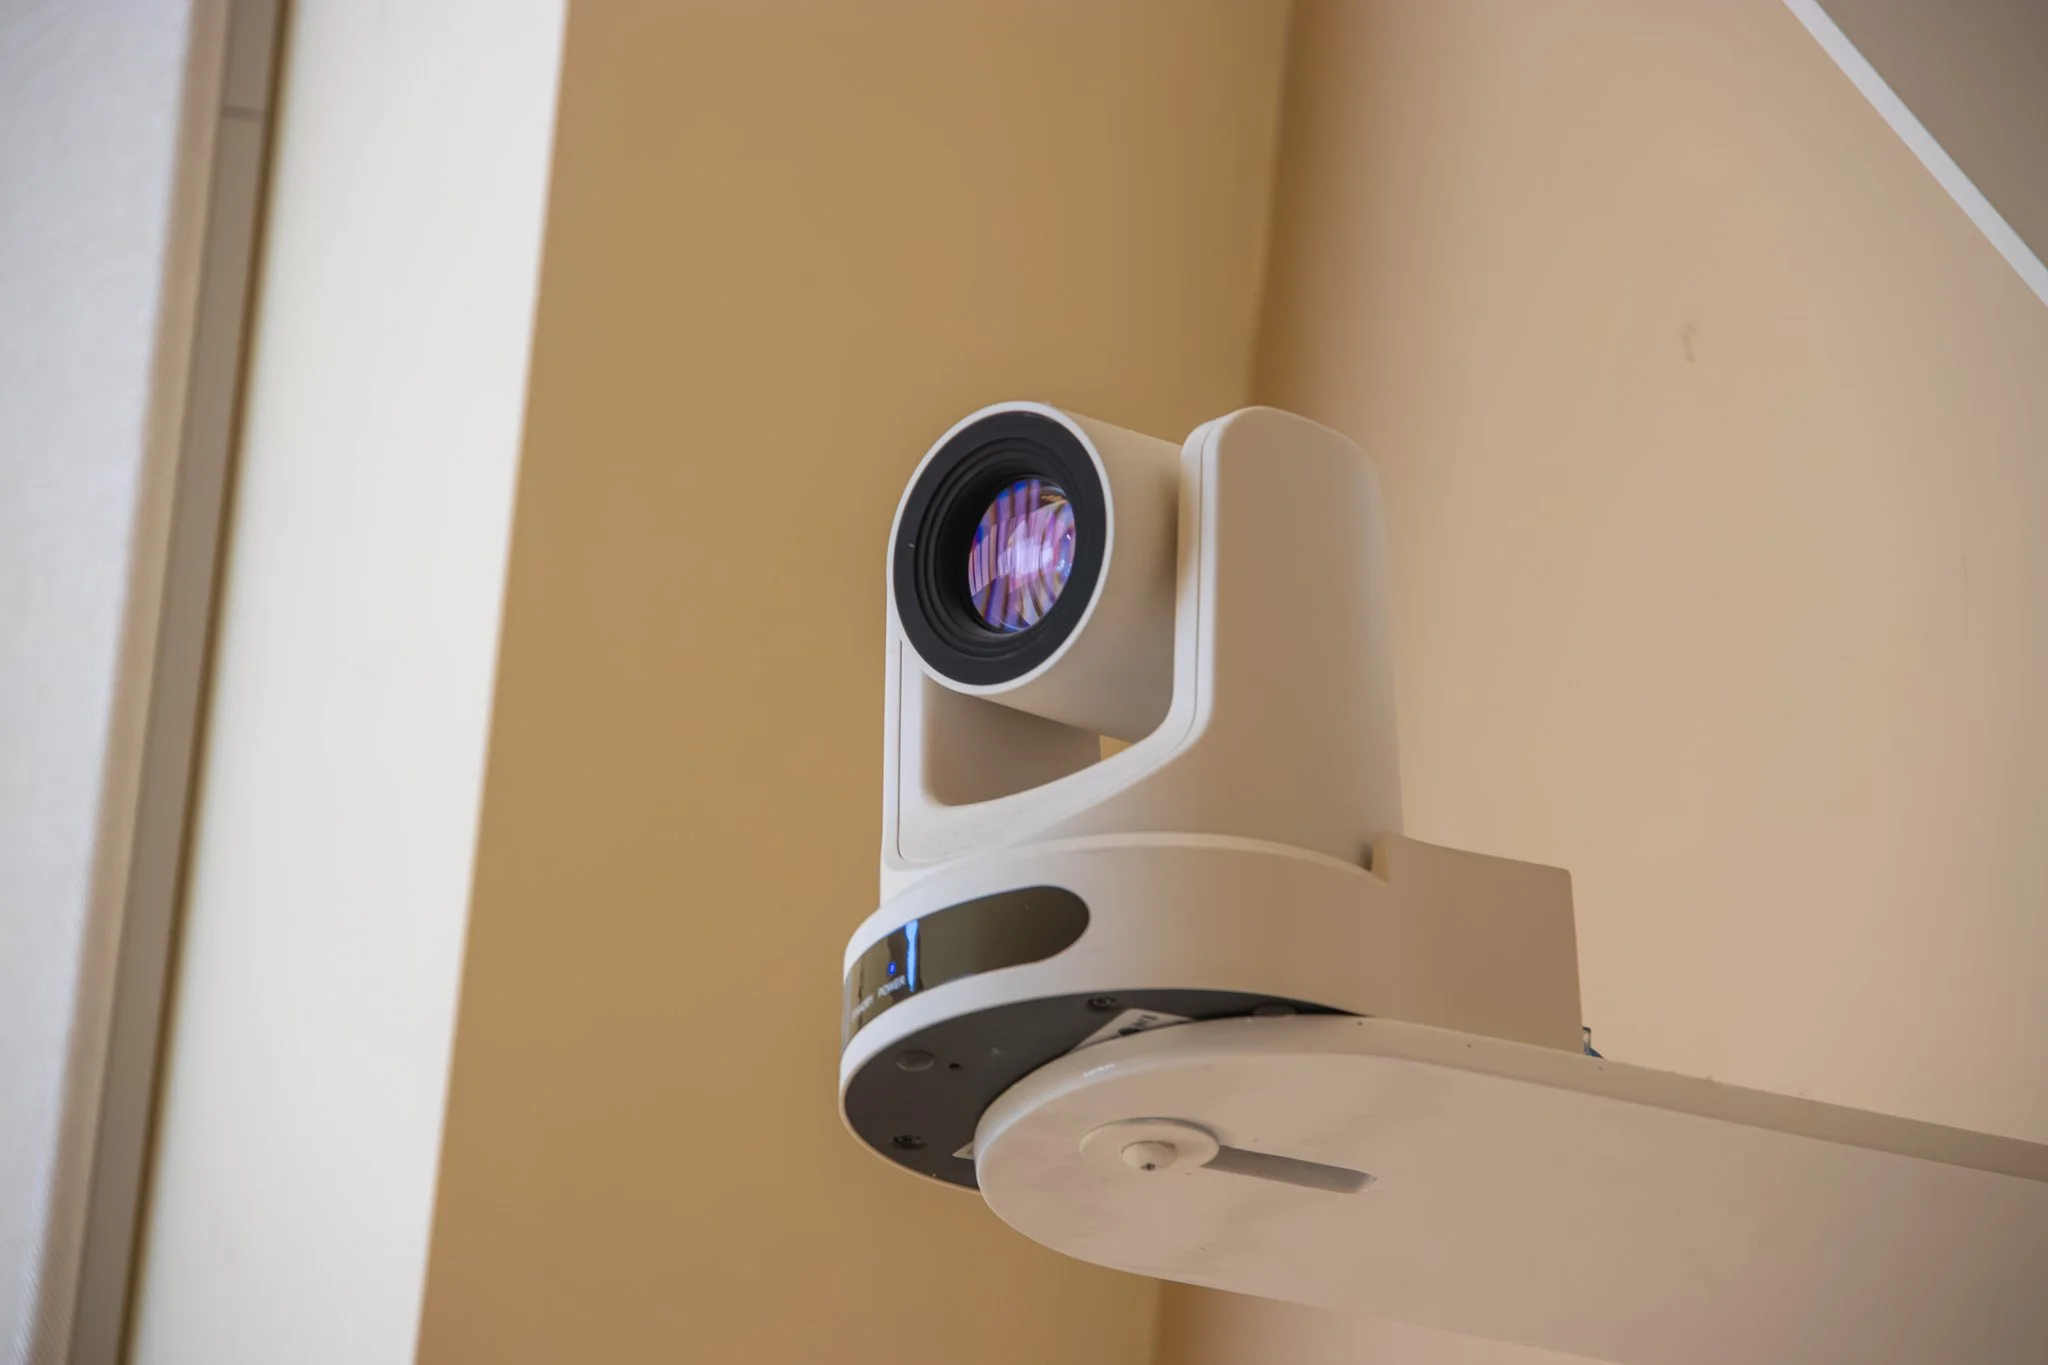
When teaching a hybrid class or recording a lecture, take a moment to check what the classroom camera is capturing.
If a camera is pointed at the wrong part of the room, try changing the preset. Some classrooms have settings for common viewpoints like instructor, whiteboard, desk, or wide angle shot of the room. If the camera is moving around unexpectedly, check whether automatic tracking is enabled. If the classroom has multiple cameras, make sure the correct one is selected in the video conferencing or lecture capture system.
It's also worth checking the camera preview before class starts. If you can see yourself clearly in the preview, but remote participants still can't see you, the issue may be with the conferencing platform or selected camera rather than the camera itself.
This is a particularly easy check to make before students arrive and can prevent discovering halfway through a lecture that the remote audience has been looking at an empty podium.
5. Online Class Keep Freezing
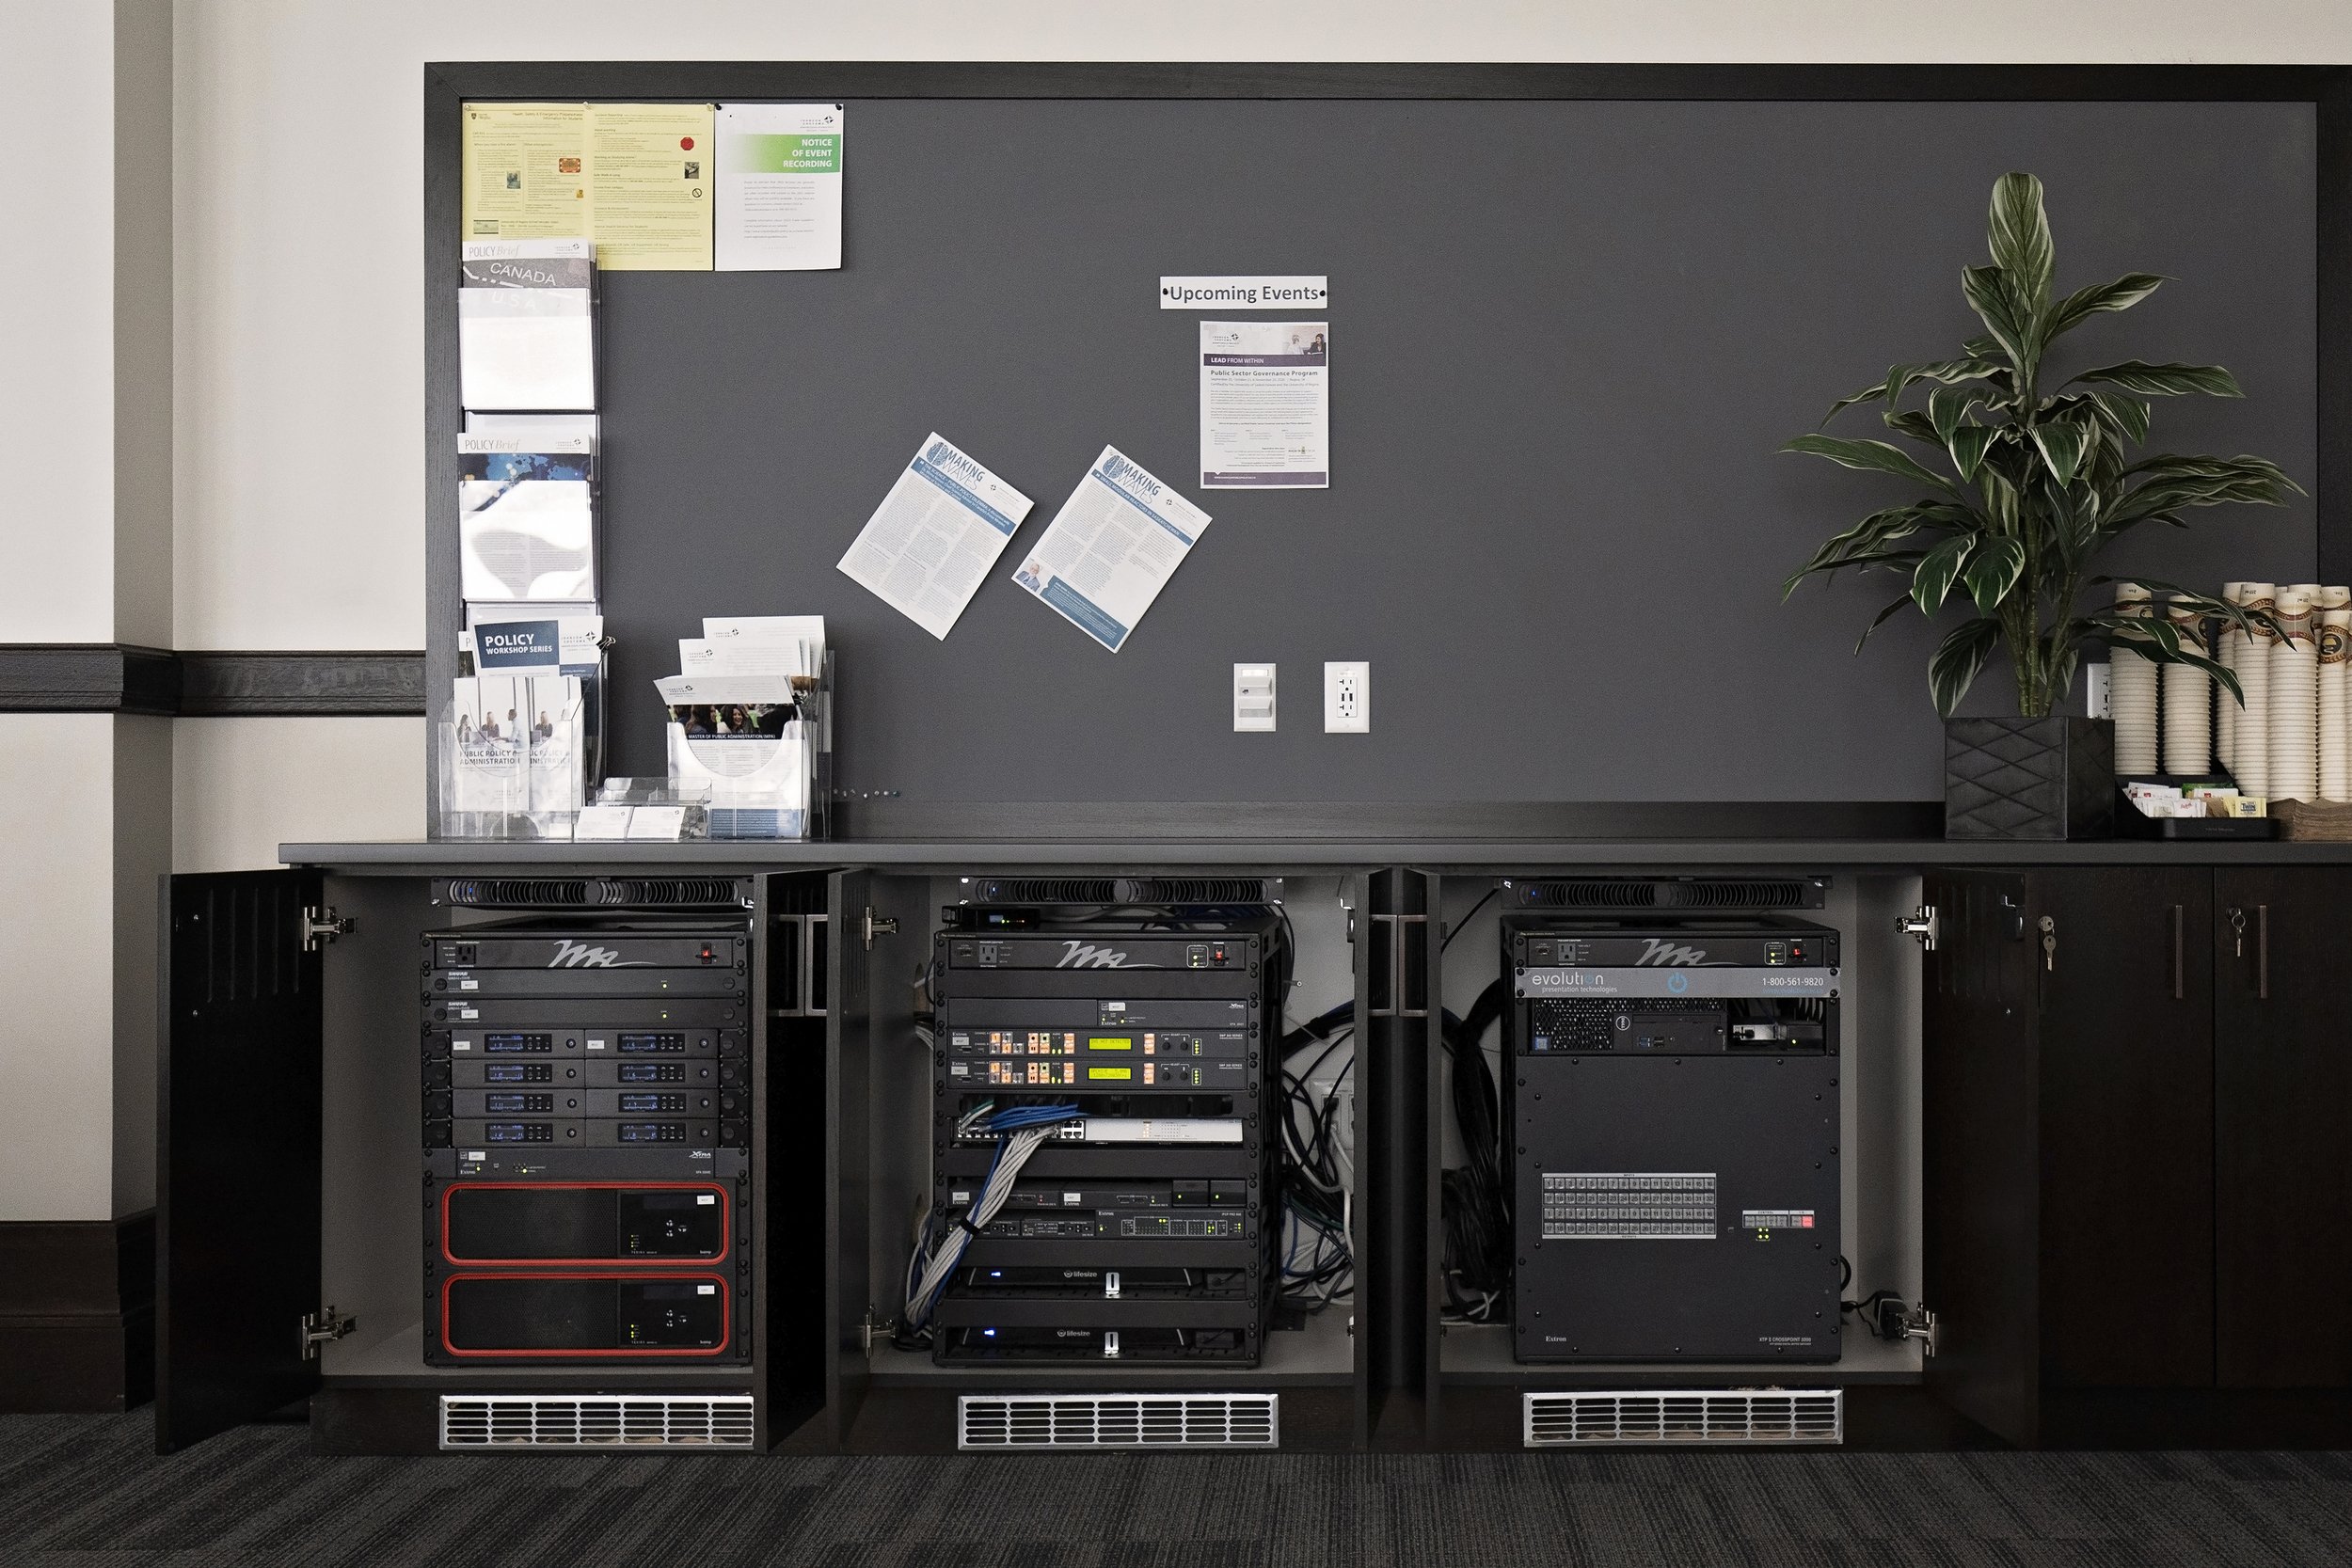
A lot of campus AV technology relies on the quality of the network to run lecture capture, networked microphones, or video conferencing. With the rise of AV-over-IP systems, connectivity issues might not be caused exclusively by the equipment anymore.
If a hybrid class keeps freezing or dropping, check to see if the issue is isolated to the room. If other areas on campus are experiencing the same glitches, or if the internet is also slow, the issue may be due to the network.
Closing unnecessary programs and browser tabs can help alleviate the strain in the meantime but doesn’t necessarily solve the problem. If connectivity issues happen at certain times of the day consistently, it could be network congestion or an infrastructure issue.
There isn't much a professor should need to do beyond these basic checks. Network troubleshooting is generally something to leave to the campus IT team.
6. Lecture Capture Isn’t Recording or Projecting
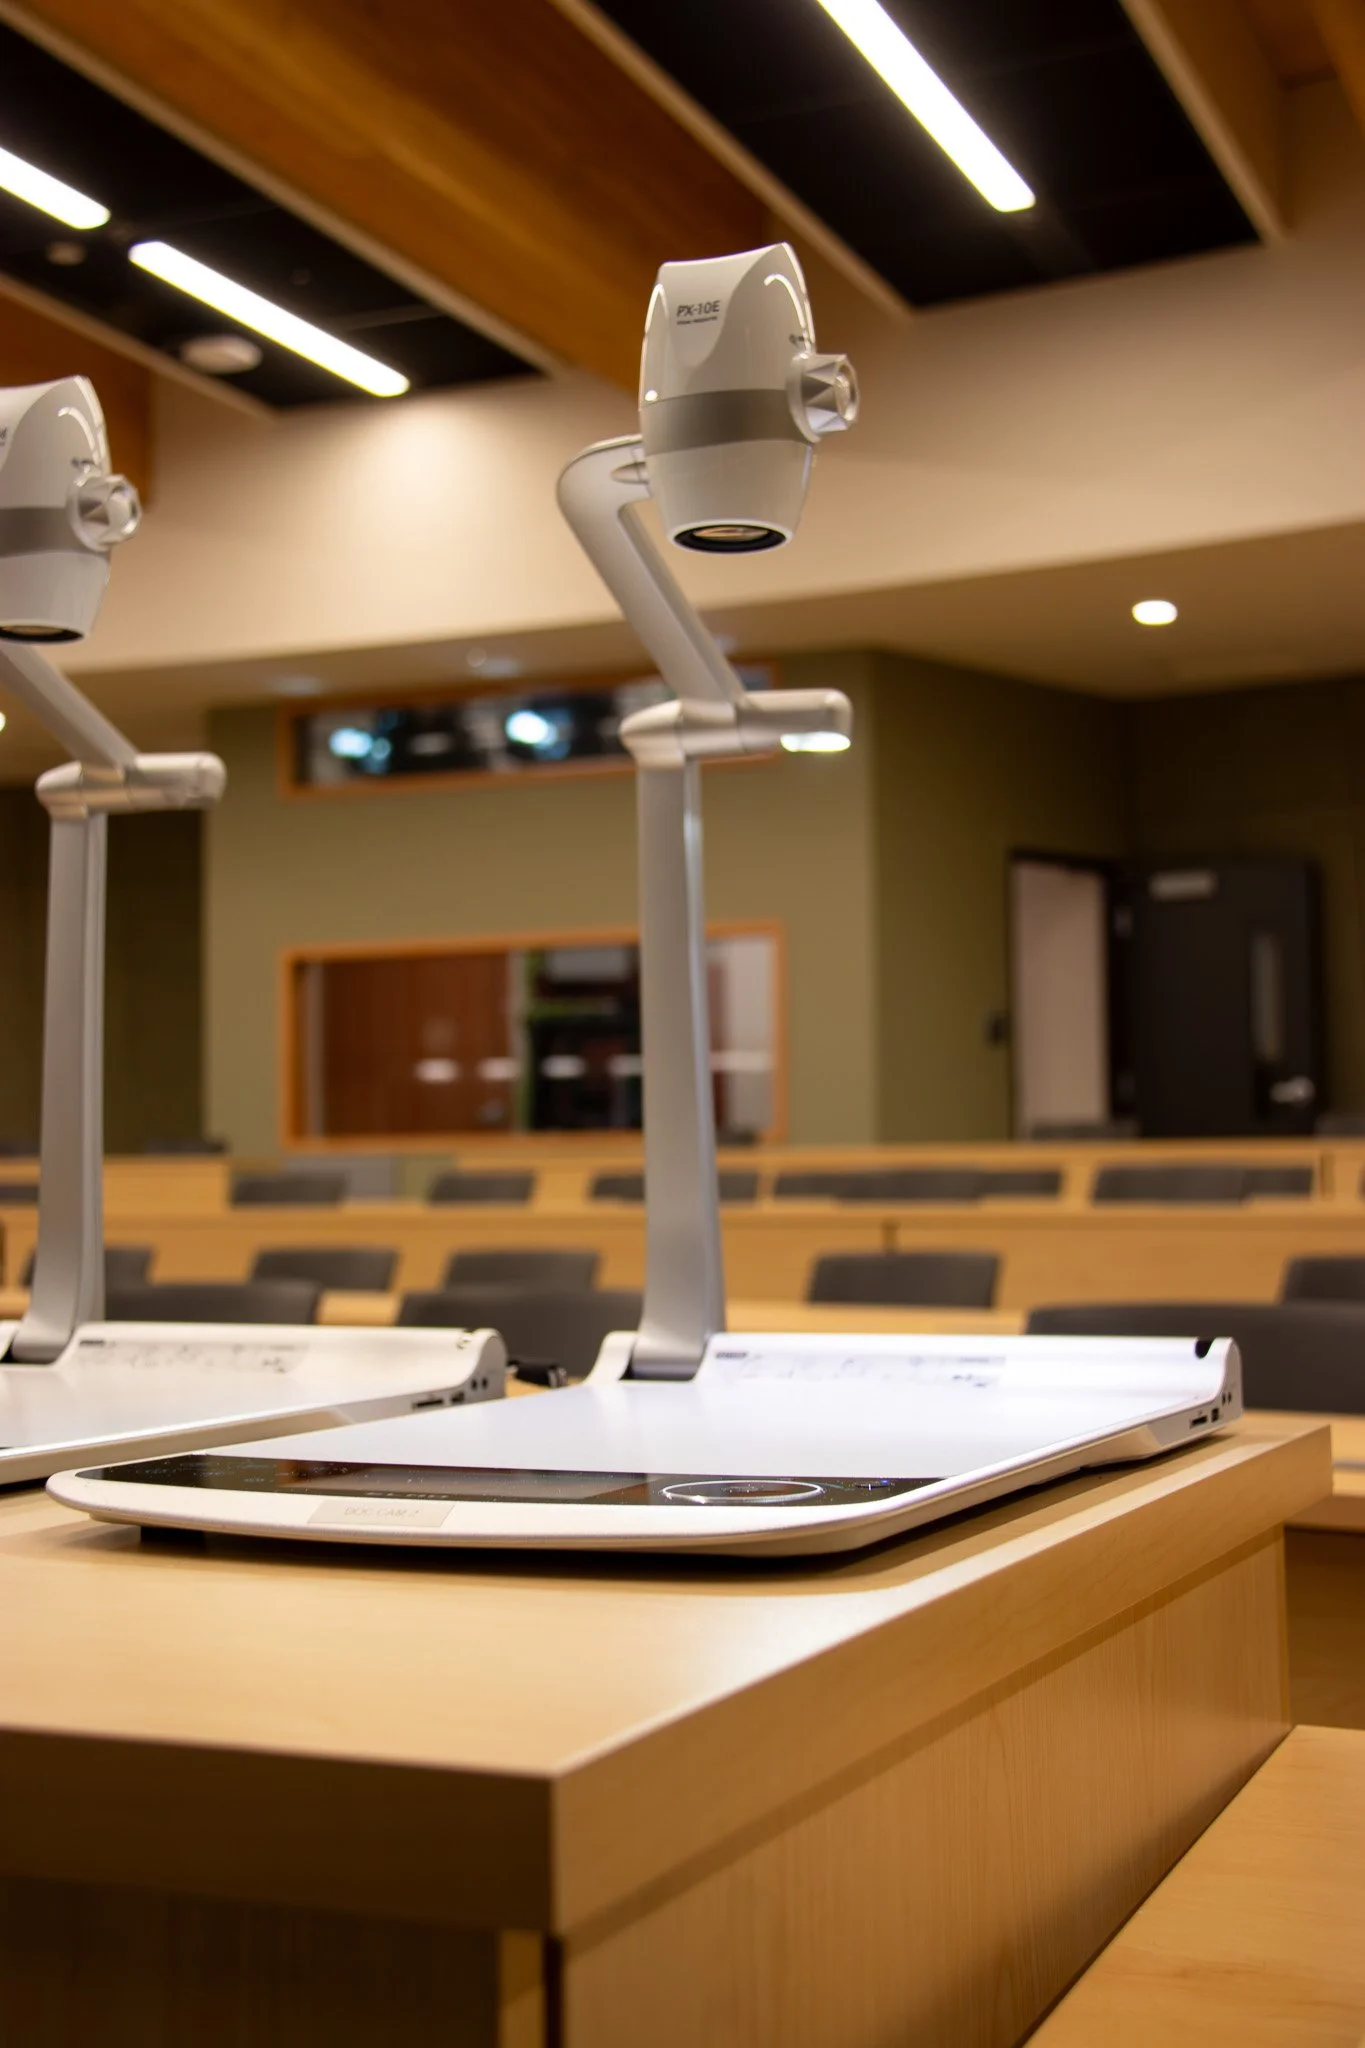
Lecture capture problems are particularly frustrating because they aren't always obvious while the class is happening. The instructor could be teaching normally, the presentation is visible on screen, and the microphone is loud and clear, but the recording still fails somewhere in the process.
Before an important lecture, double check the settings. If the lecture capture system isn't recording, start by checking whether the room's recording indicator is active. Depending on the system, this may be a recording light or an indicator on the touch panel.
If the recording is running but the presentation isn't being captured, check the source being sent to the room's display. In many classrooms, the content being projected is also the content being recorded. Make sure the correct laptop, classroom PC, or other input is selected on the touch panel.
If the camera isn't appearing in the recording, check the camera selection and preview on the room's control panel. If the camera view is correct on the preview but missing from the recording, the problem is likely further into the capture system and should be escalated.
It's also important to remember that a recording may not appear immediately after class. Lecture capture systems often need time to process and upload the recording before it appears in the learning management system, but it’s a good idea to confirm that it’s being saved to the intended platform. A recording that remains on local storage or fails during the upload process can’t be accessed by those who need it.
Lecture capture involves multiple pieces of technology working together, including cameras, microphones, DSP, network connectivity, and the recording platform. If recordings are consistently failing to upload, missing audio, or capturing the wrong source, that's a good time to contact IT or AV support.
7. Know When to Stop Troubleshooting
One of the most useful things an instructor can know is when a problem is simple enough to troubleshoot and when it needs to be escalated.
Checking a cable, selecting the correct source, unmuting a microphone, or restarting a laptop are reasonable first steps. Opening equipment racks, changing DSP settings, modifying network configurations, or repeatedly rebooting complex systems are not.
If the basic checks don't solve the problem, contact the campus IT or AV team and provide as much information as possible. Things like room number, equipment, issue, and what’s already been tried can make the support ticket much easier to diagnose.
For example, "the projector doesn't work" doesn't tell a technician very much. "The display works with the room PC but loses signal when I connect my MacBook using this USB-C adapter" gives them a much better starting point.
A Few Minutes of Troubleshooting Can Save a Long Wait
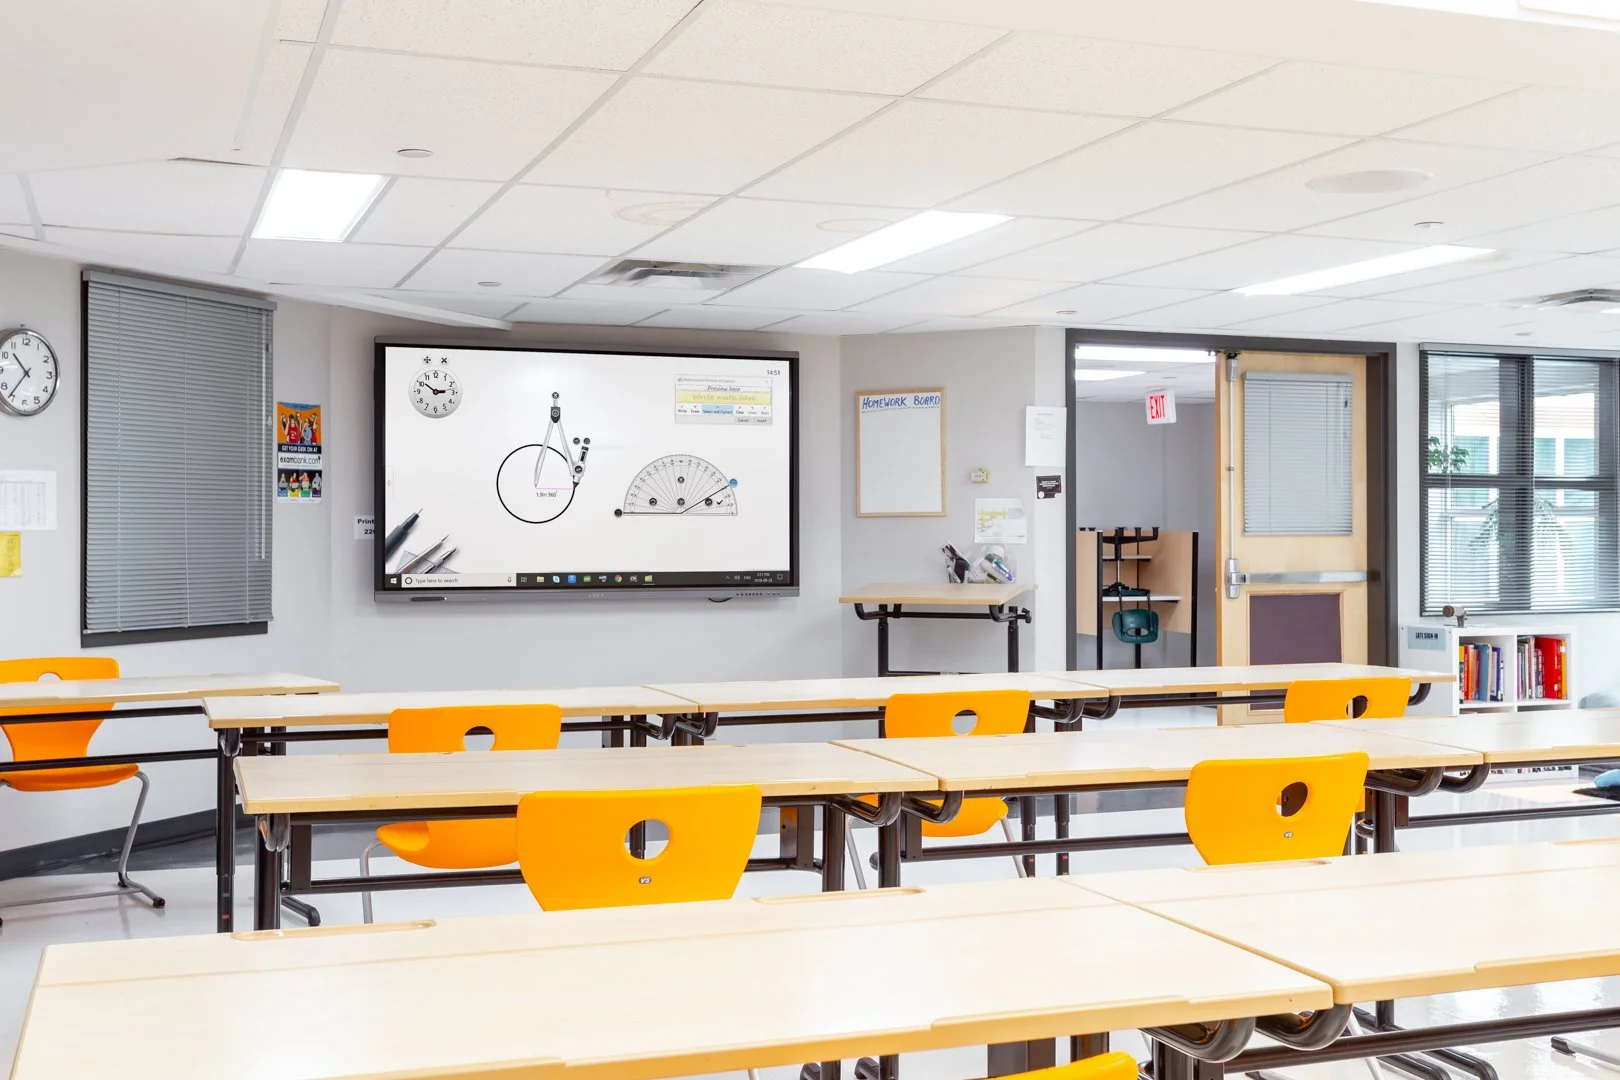
Not every classroom AV problem requires a technician. Checking the source selection, reconnecting a cable, confirming the correct audio output, or restarting a laptop can often solve a problem in a few minutes. For instructors working on a tight class schedule, that's a lot better than waiting for someone from IT to arrive.
If classroom AV problems are becoming a recurring issue, the solution may be more than a quick troubleshooting fix. Repeated failures, unreliable lecture capture, networked AV issues, or equipment that needs frequent intervention can be signs that a system needs to be reviewed.
Our team of AV experts work with education facilities to design, support, and maintain AV systems that are reliable and easy for instructors to use and IT teams to service. If your campus is spending more time troubleshooting classroom technology than teaching, we can help identify where the system is falling short and what can be done to improve it.








Frequently Asked Questions About Classroom AV Troubleshooting
-
Start by checking that the correct source is selected on the classroom control panel and that your laptop is connected properly. Disconnect and reconnect the HDMI or USB-C cable, check your laptop's display settings, and try another cable or adapter if one is available. If another source, such as the classroom PC, works correctly, the issue may be with your laptop, cable, or adapter rather than the room's AV system.
-
First, check that your computer isn't muted and that the correct audio output is selected. Your laptop may be sending sound to its internal speakers, Bluetooth headphones, or another connected device instead of the classroom speakers. Also check the room's volume and mute controls. For wireless microphones, make sure the transmitter is powered on, charged, and not muted.
-
If the room has camera presets, use the classroom control panel to select the appropriate preset for the instructor, lectern, whiteboard, or other area. Some systems also allow you to manually pan, tilt, and zoom the camera. Check the camera preview before class to make sure you're in the frame. If the camera won't move or the presets aren't working, contact IT or AV support.
-
First, check whether the recording indicator on the classroom control panel or recording system is active. If the room uses scheduled recordings, make sure the correct class or recording session has started. If the recording is running but isn't capturing your presentation, check that the correct laptop or classroom PC is selected as the source. Persistent recording failures, missing audio, or incorrect camera feeds should be reported to IT or AV support.
-
The presentation source may not be selected correctly. Check that the laptop or classroom computer you're presenting from is also selected as the source for the room's display and capture system. If the presentation is visible on the classroom display but missing from the recording, the issue may be further into the lecture capture system and will likely require IT or AV support.
-
Start by determining whether the issue is isolated to your computer or affecting the wider network. Check whether other websites and applications are working normally and confirm that you're connected to the expected network. If multiple people or areas on campus are experiencing connectivity problems, the issue may be related to the network rather than the classroom AV equipment. Contact IT if the problem continues.
-
If you've checked the basic connections, source selection, audio settings, camera controls, and other simple fixes without resolving the problem, it's time to contact IT or AV support. Instructors should not open equipment racks, change DSP or network settings, alter wireless frequencies, or repeatedly reboot complex AV systems. When submitting a support request, include the room number, what equipment you're using, what isn't working, and what you've already tried.
-
Be as specific as possible when reporting the issue. Instead of saying "the projector isn't working," explain what happens and what you've already tested—for example, "the classroom PC displays normally, but my MacBook loses signal when connected through the USB-C adapter." This gives the support team a much better starting point for diagnosing the problem.